Your wedding bouquet can become a beautiful keepsake from your special day, and there are a plethora of ways to preserve it so you can cherish it for years to come. Here are 3 methods I recommend. All of these involve drying or pressing the flowers to preserve them, so make sure you check out the tips for keeping dried & pressed flowers at the bottom as well!
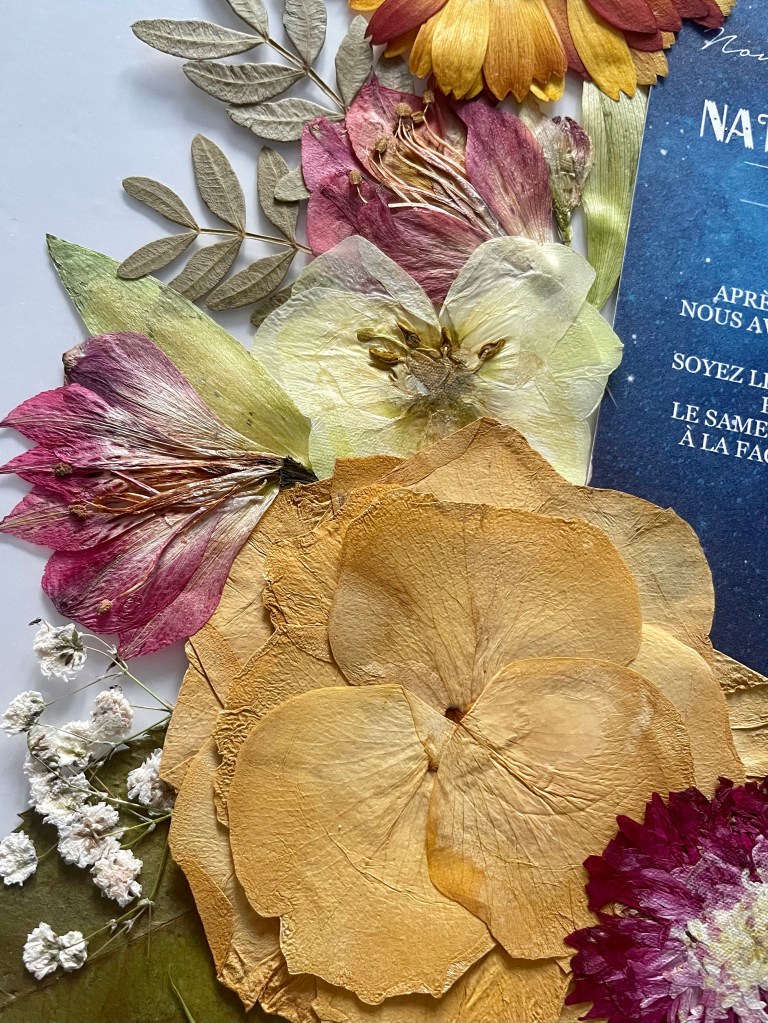
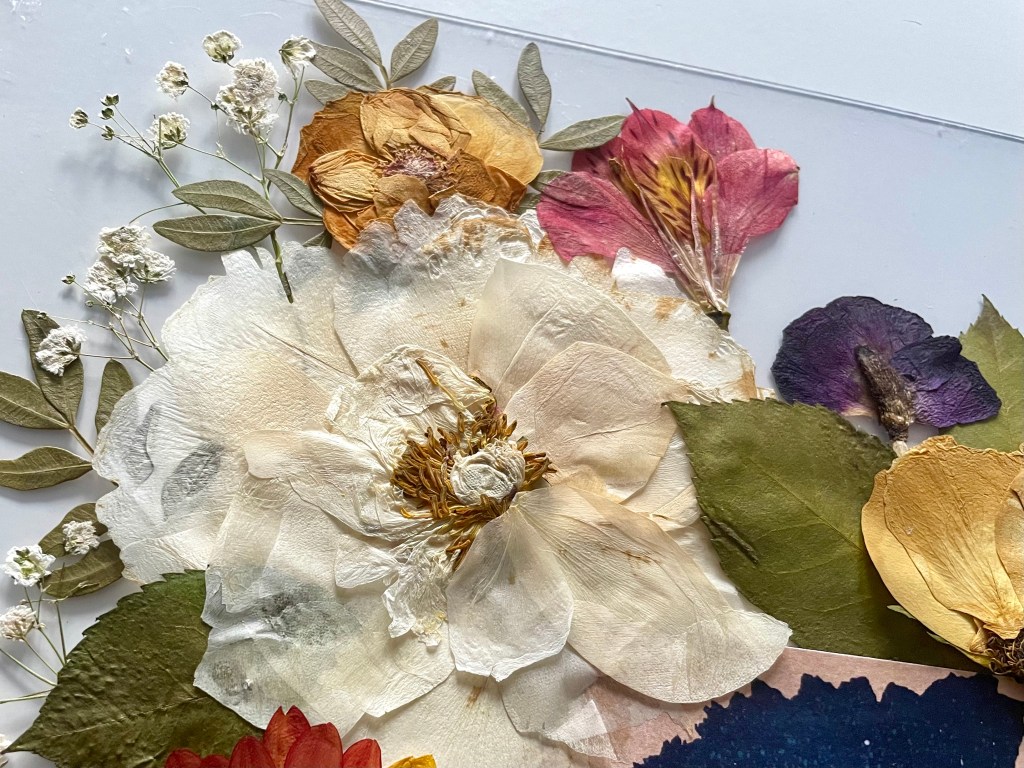
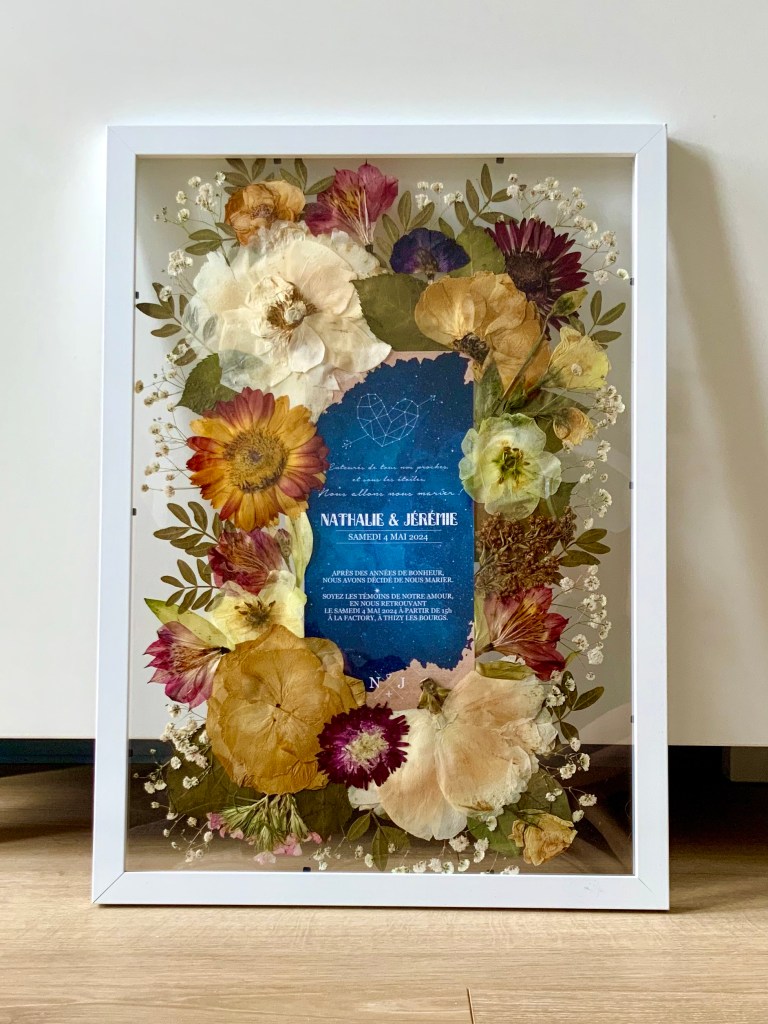
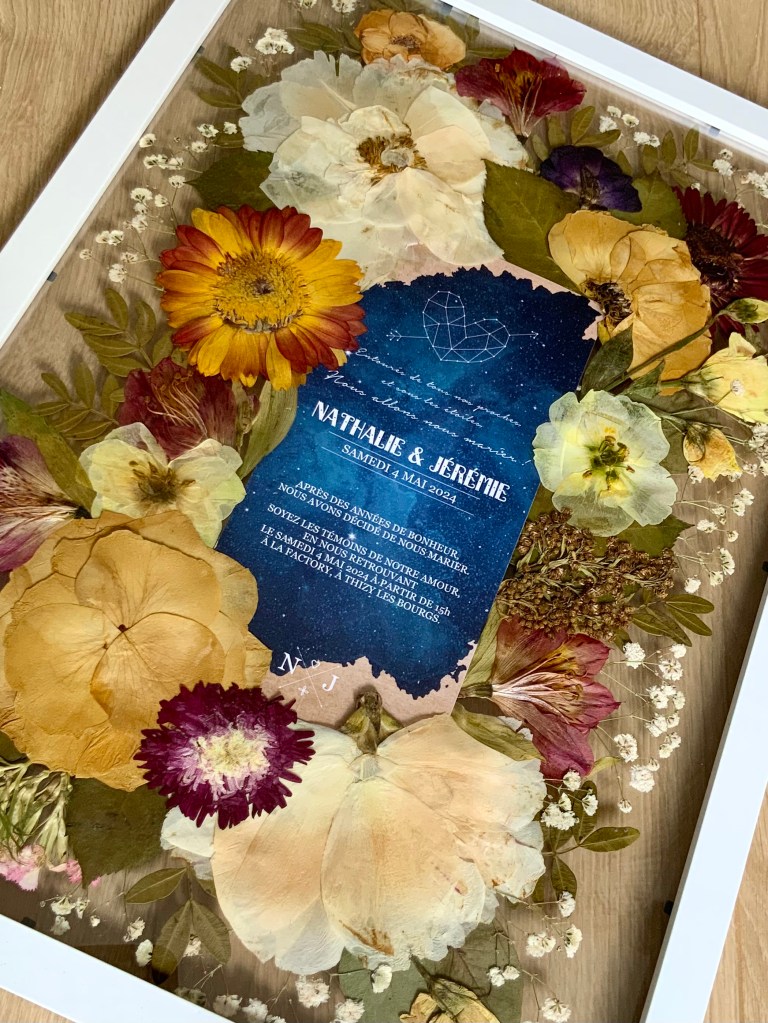
1. Pressed Flower Frame
Materials: For a pressed flower frame, you’ll need sheets of low-quality printer paper, a heavy book or weight, a frame, and some liquid glue.
Pros & Cons: This method creates a beautiful, long-lasting piece of home decor and can incorporate other memorabilia, like your wedding invitation, photo, or vows. However, pressing flowers means they lose their original 3D shape, but they transform into a stunning 2D piece of art.
Steps:
- Press individual flowers (or individual petals for larger flowers) between sheets of printer paper.
- Place the paper under a heavy weight (I use my biggest cookbooks) or in a flower press for 1-2 weeks. Changing out the sheets of paper for fresh ones after a few days helps avoid molding. There’s also some microwave pressing kits available to help speed up the drying process.
- Once everything is dry, reassemble the flowers in your composition using very small amounts of liquid glue to hold things together. If you’re including any memorabilia, like your wedding vows, invitations, or a photo, place it at the center of your composition. I also recommend placing the largest flowers towards the center and making the outside a bit lighter using the smaller flowers and foliage.
Display: Frame your composition in any frame that suits your home decor style. A regular frame is easier since you can glue your composition directly onto a large sheet of paper and frame that. A double-sided frame is a bit harder to work with but allows for a beautiful effect, letting the light through the composition.

If a pressed flower frame is the option you’re leaning towards, check out my bouquet preservation page and reach out before your wedding so I can create your custom bouquet frame for you!
2. Dried Flower Bouquet
Materials: To create a dried flower bouquet, you’ll only need string and a hook. You could also help the process along with silica beads and a sealed container.
Pros & Cons: This method allows you to retain the bouquet’s beautiful 3D shape, but the result can be quite fragile and you’ll likely have some breakage with time.
Steps:
- Remove any wet towels or water reservoir at the base of your bouquet.
- Partition the bouquet into smaller bouquets of 5-6 flowers to help them dry better.
- Tie the bouquets with string and hang them upside down in a dry room, away from direct sunlight, for at least 1 week.
- Make sure the flowers are fully dried before reassembling the bouquet.
- Alternatively, you can submerge individual flowers in silica beads in a sealed container for a few days to help them dry faster and conserve more shape & color.
Display: There’s an infinite number of ways you can display your dried bouquet. My favorites are:
- Hanging it upside down from a hook or from the ceiling for a cottage-core style.
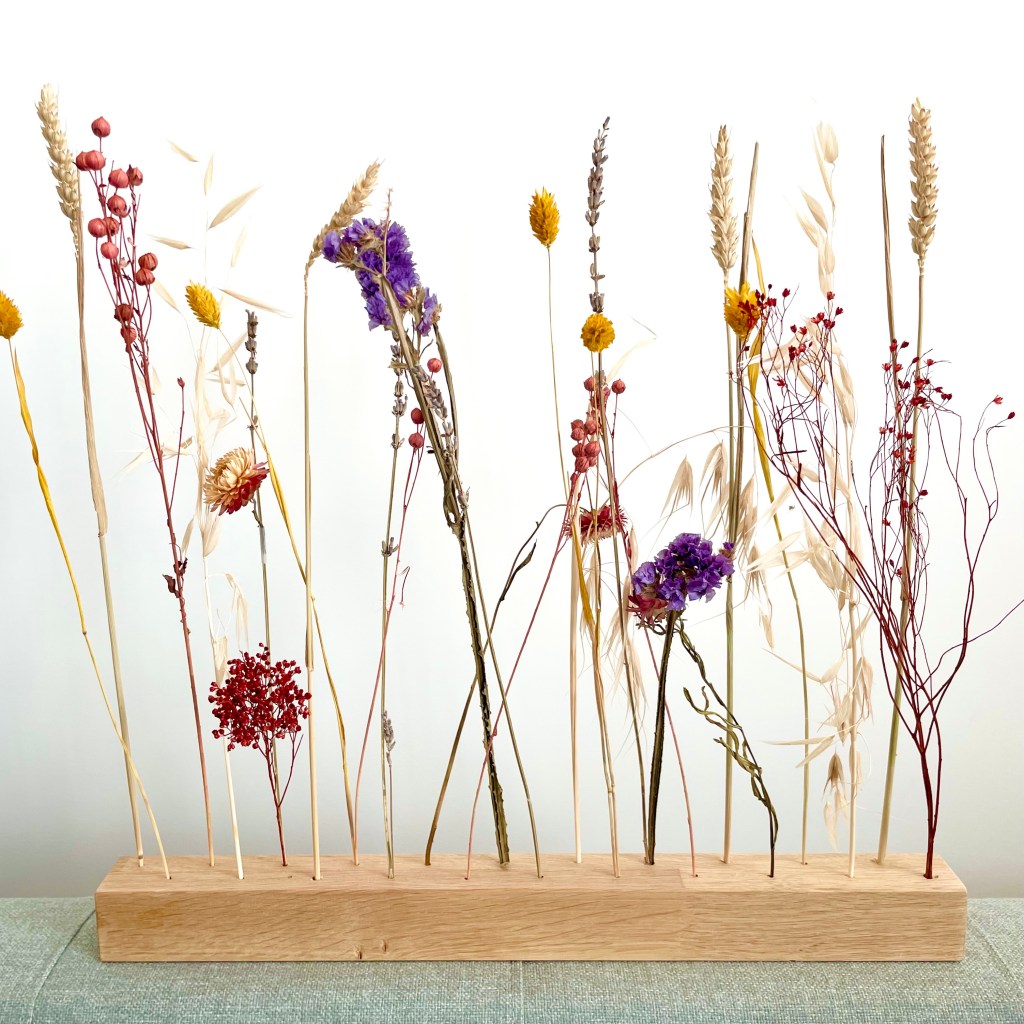
- Arranging it in a dried flower bar. All you need is a wooden beam that you drill small holes into, and you can place each individual stem in each hole.
- Placing your dried flower bouquet in a decorative vase.

3. Embed in Resin
Materials: To embed your bouquet in resin, you’ll need resin and a mold. The easiest way is to buy a resin kit, so you get all the materials you need at once.
Pros & Cons: This method preserves the flowers’ 3D shape and creates long-lasting decorative or functional items, but it requires more materials. If you’ve never used resin before, I would recommend staying away from large object or composition on your first project, and make smaller objects with fewer flowers instead.
Steps:
- Dry the flowers to avoid molding over time, either by hanging them upside down or covering them in silica beads for a few days.
- Prepare the resin following the instructions that come with your kit, but let it cool a bit before using to prevent damaging the flowers.
- Pour some resin to fill your mold about halfway, add the flowers, and slowly pour resin on top of the flowers.
- Ensure all air pockets and bubbles are out.
- Once the resin has completely dried (usually takes a couple of days), take it out of the mold.
Display: I recommend creating smaller objects if you’re new to resin work. These can be decorative but also functional, like paperweights or coasters.
General Tips for Dried & Pressed Flowers:
- Ensure flowers are as dry as possible before creating your composition and keep them away from humidity to avoid molding.
- Keep dried and pressed flowers away from direct light to prevent colors from fading. Even away from sunlight, you should expect some inevitable fading with time. Properly preserved flowers can retain a lot of their color for about 5-7 years before significant fading occurs. Typically, you’ll see greenery fades first, while reds retain their pigment the longest. If you create the right composition, even a decades-old fading bouquet looks stunning and is a significant memory of your special day and long-lasting love!
Whether you choose to dry, press, or embed your flowers in resin, each method offers a unique way to celebrate and remember your wedding day. If you want to preserve your beautiful memories without embarking on such a precious DIY project yourself, visit my bouquet preservation page and reach out to me for your custom bouquet preservation!