
I use pressed flowers to decorate everything and anything (candles, wax seals, journals, you name it) but this post is specifically about how you can use pressed flowers to decorate your bullet journal spreads.
If you don’t have the patience to collect and press flowers to glue them into your journal, I have you covered: You can find stickers and ephemera with real pressed flowers in my shop, and tons of realistic pressed flower stickers too! However you choose to approach it, this post will give you tons of tips & ideas for using pressed flowers in your bullet journal spreads:
- Creating a pressed flower theme
- Where to incorporate pressed flowers in your layout
- Tips for using pressed flowers in your journal
Creating a pressed flower theme
I like to use monthly themes in my journal, typically centered around one idea or using a specific medium. From a creative perspective, it motivates me to practice art each month in my journal, testing variations of the same concept throughout multiple spreads. It serves a practical purpose too: it separates each month thematically in my journal (and in my head) and makes the setup easier since I use the same supplies for all spreads.
When I use flowers in my journal, I like to center a whole theme around them and really make them the star of the show. Here are some ideas of how you can come up with your own pressed flower theme:
Pick flowers from a memorable trip or place
The first time I used pressed flowers in my journal was in April 2022; I wanted to preserve the flowers blooming in our garden after my partner had spent all winter sowing them… So naturally, I went in there with scissors and collected some samples to press! Here’s a little glimpse at those spreads:
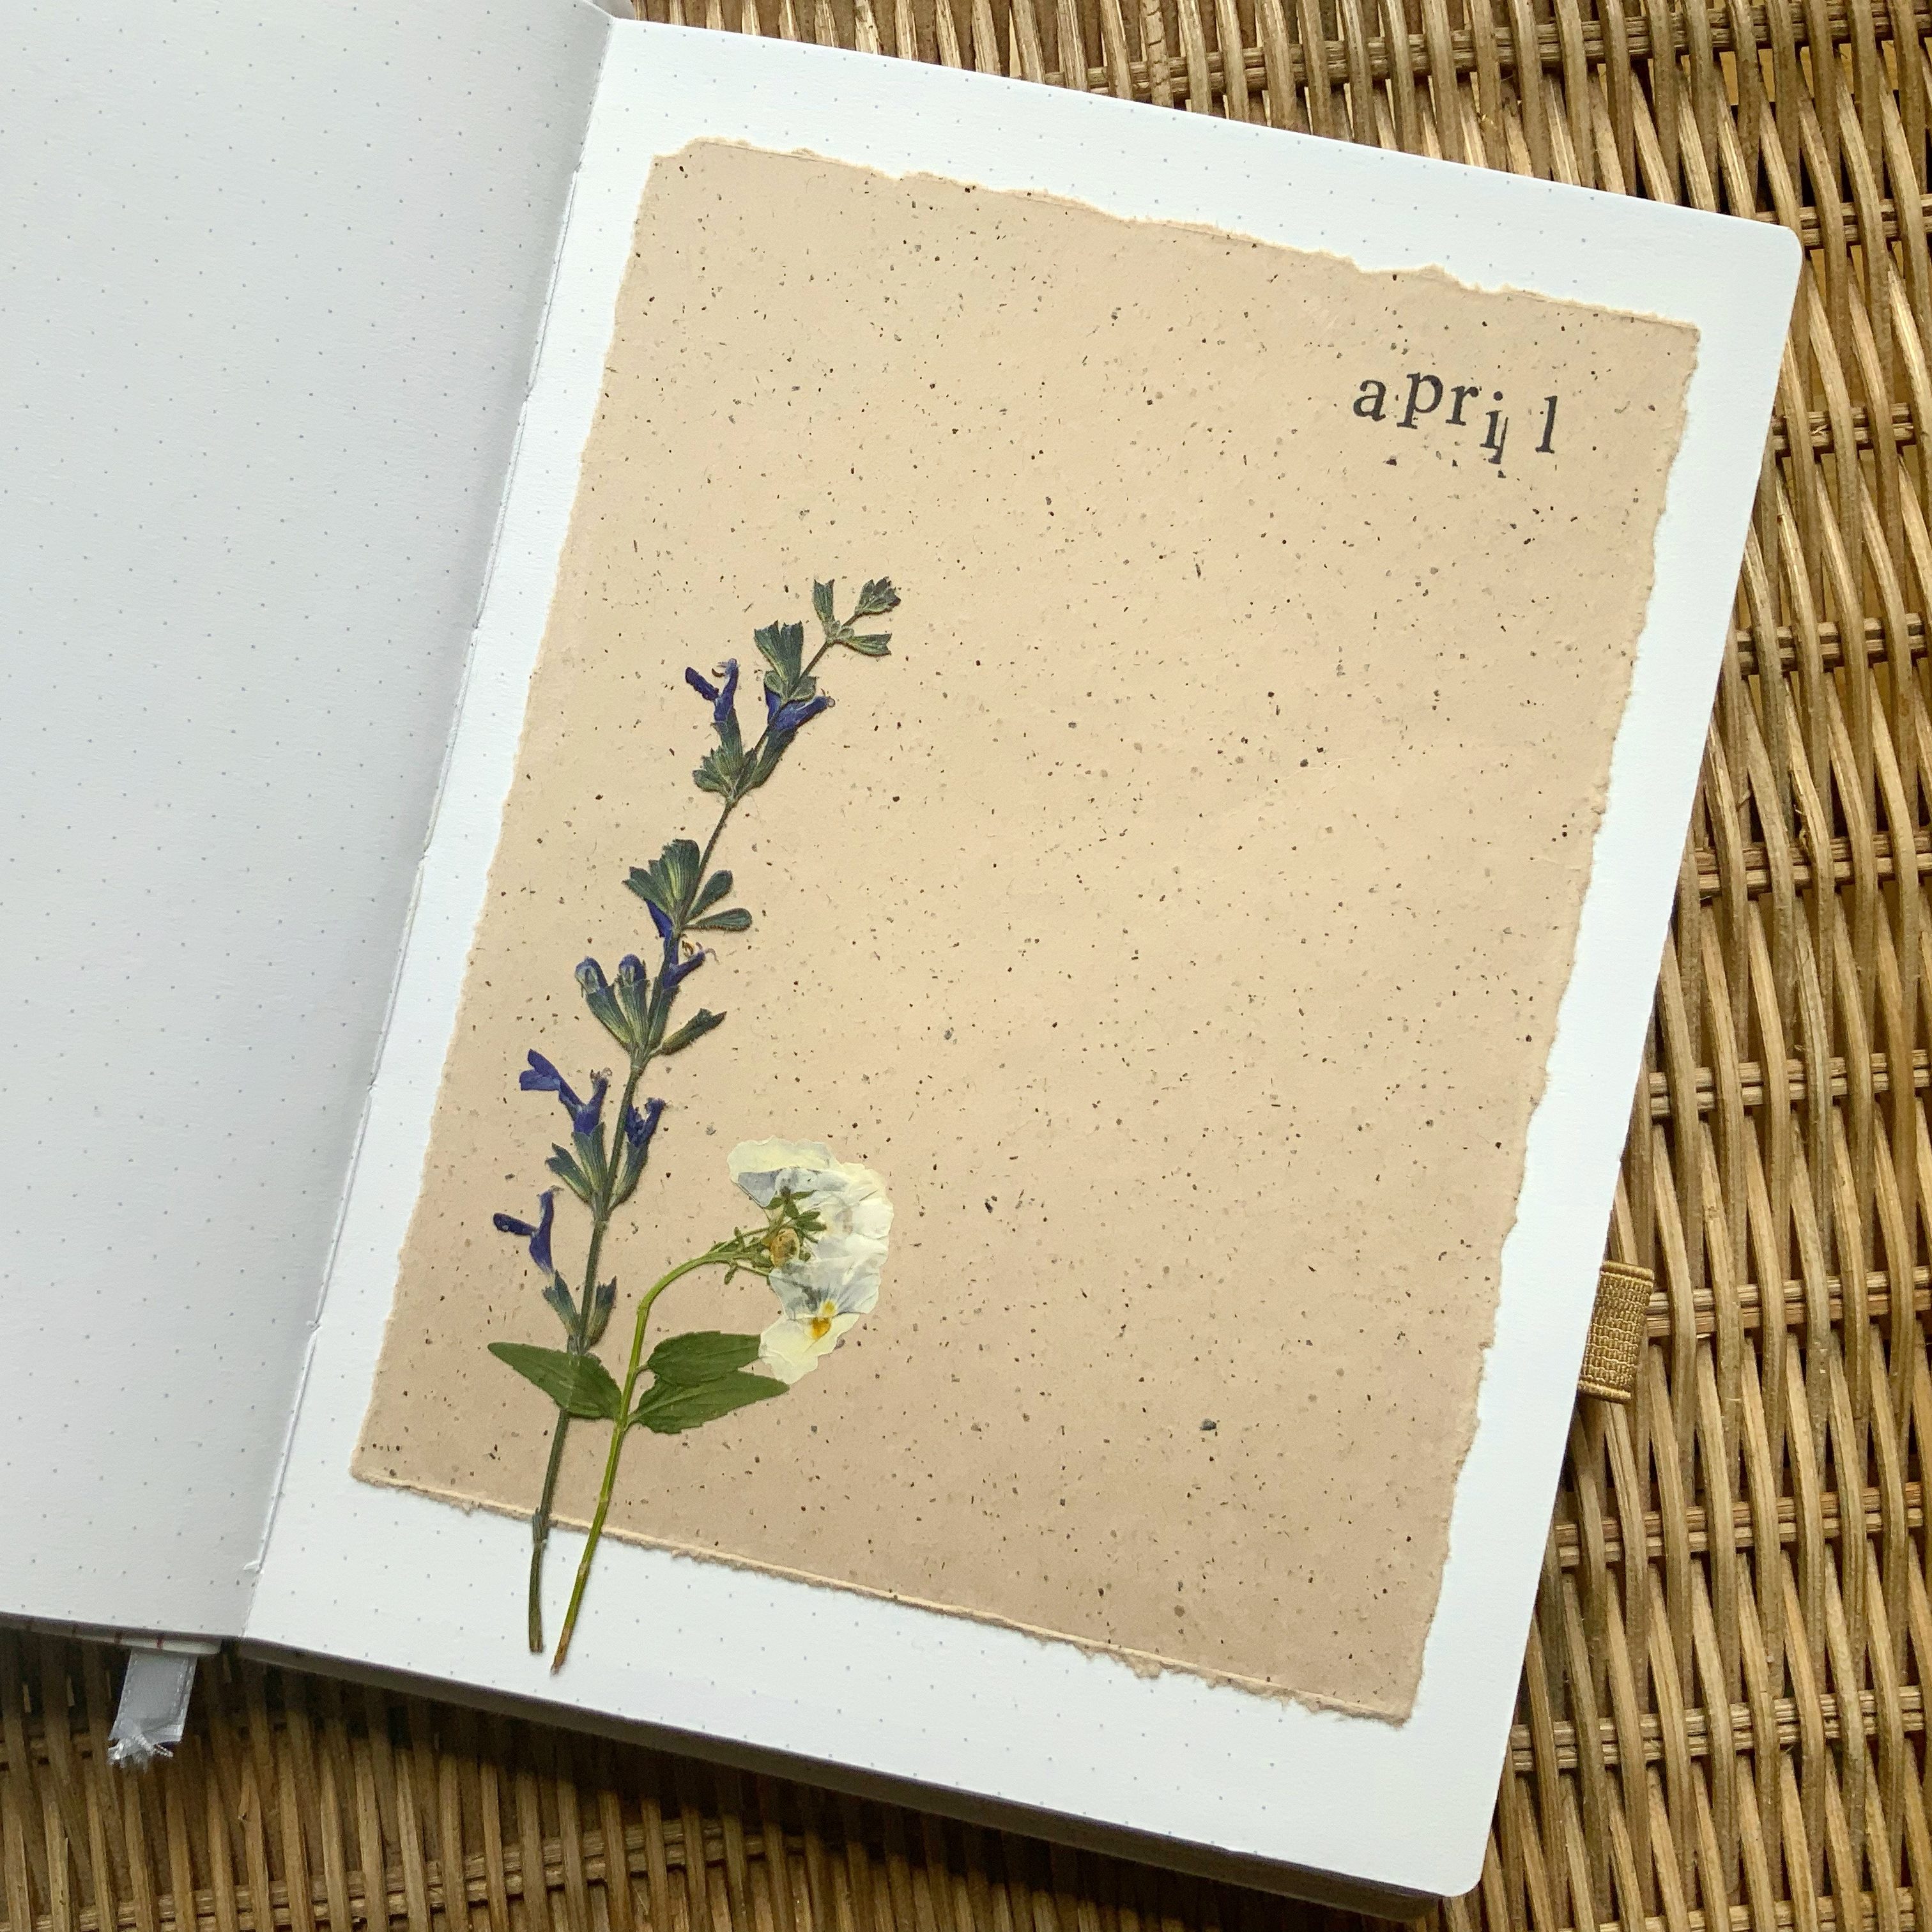

P.S. this was also in one of my first handmade journals – quite the year for my creative pursuits.
This is the easiest way to choose a theme that will also be meaningful to you: center it around a specific place or memory you want to honor in your journal. Next time you go on a trip, hike, or even a walk in the park, bring a book so you can press flowers between its pages. Or, like me, simply collect a small harvest from your yard or balcony! Another idea is to save bouquets you’ve bought or received and press the flowers to commemorate them in your next journal theme.
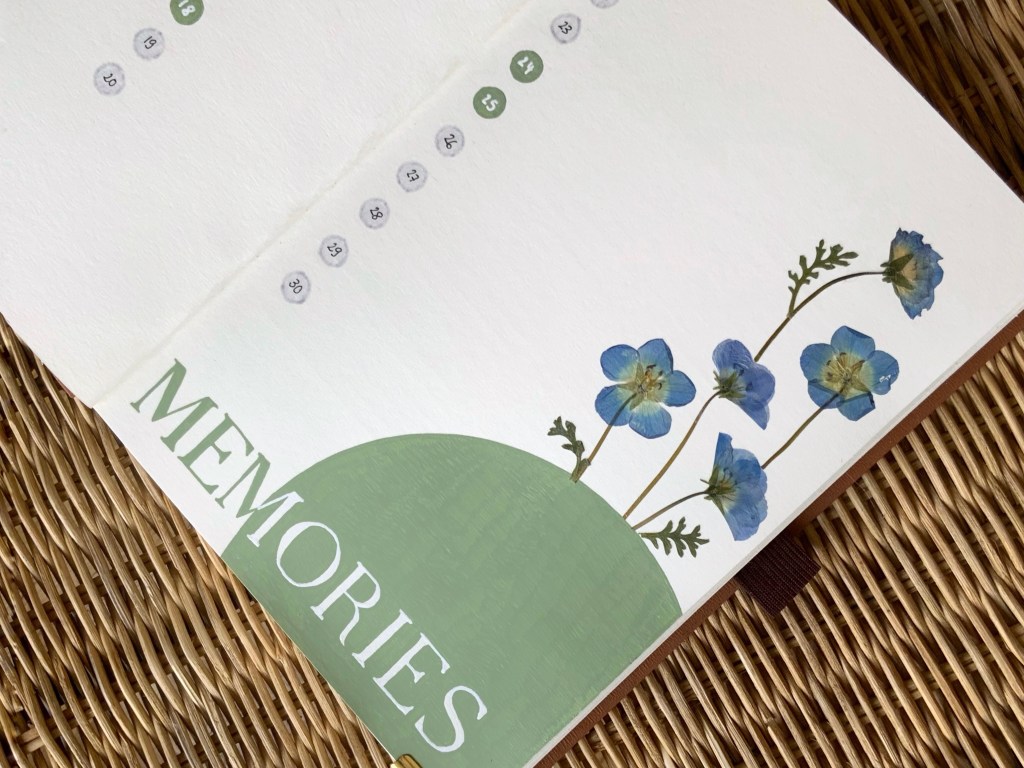
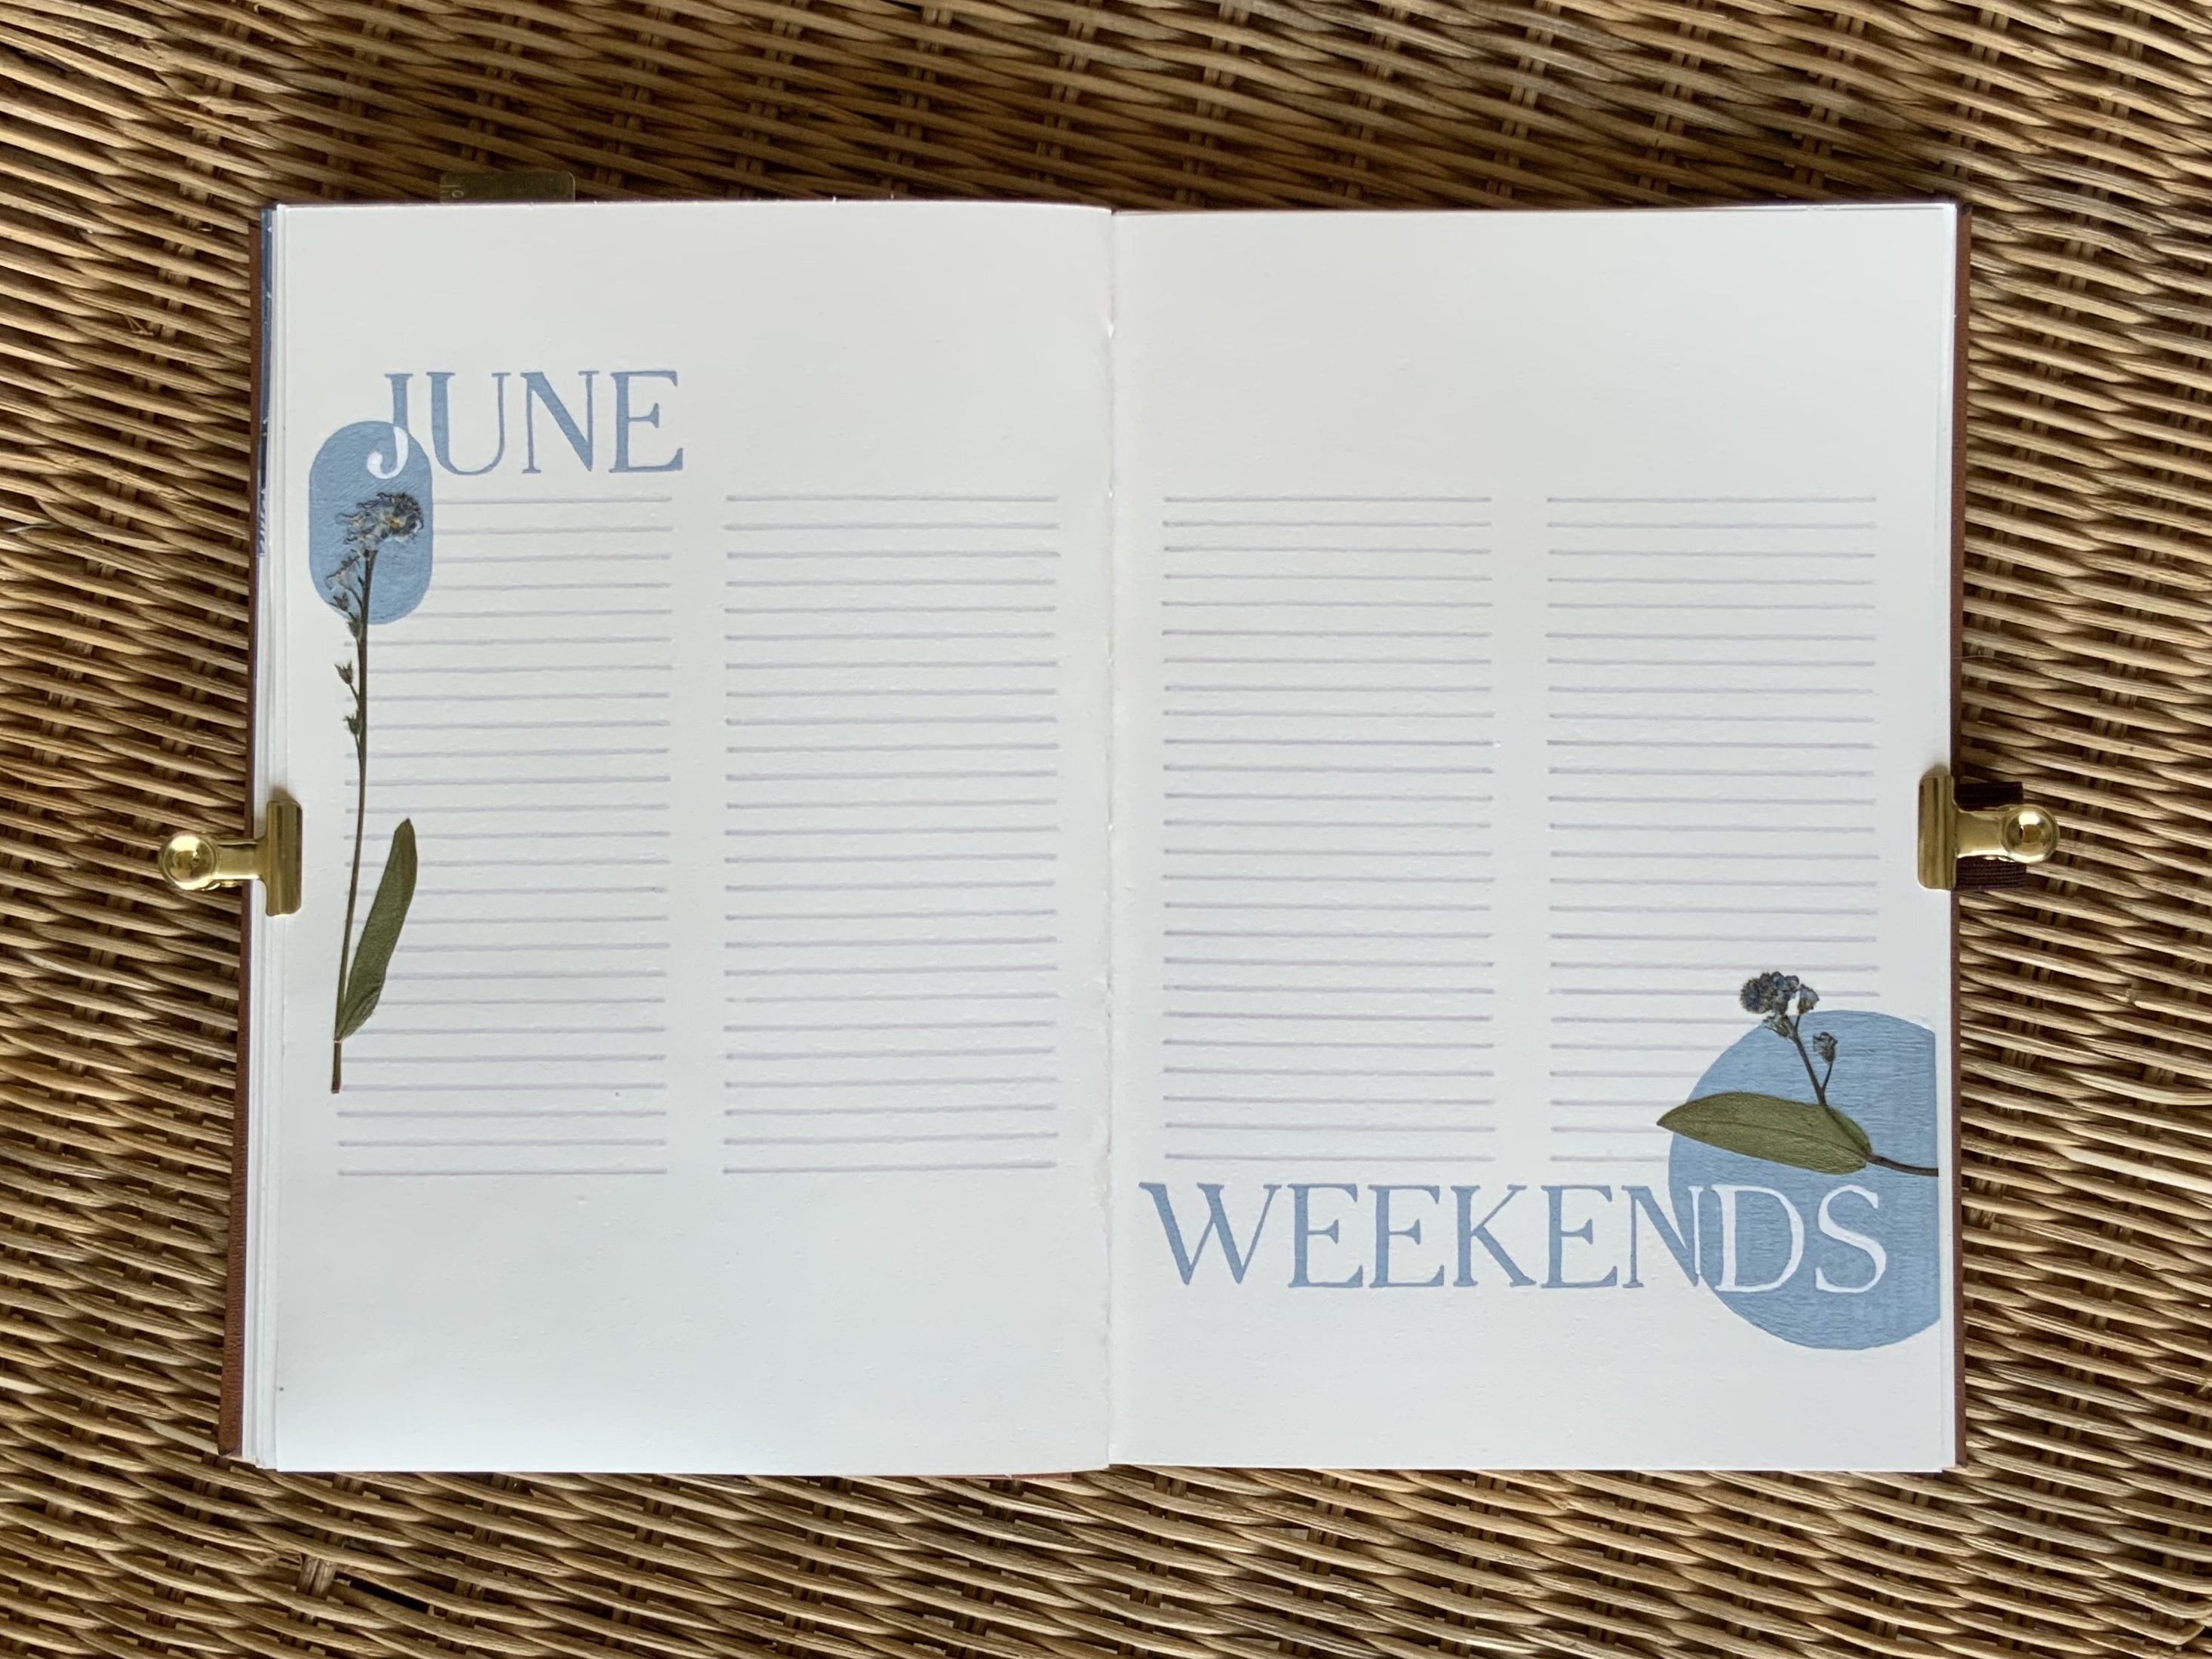
Highlight a color or flower type
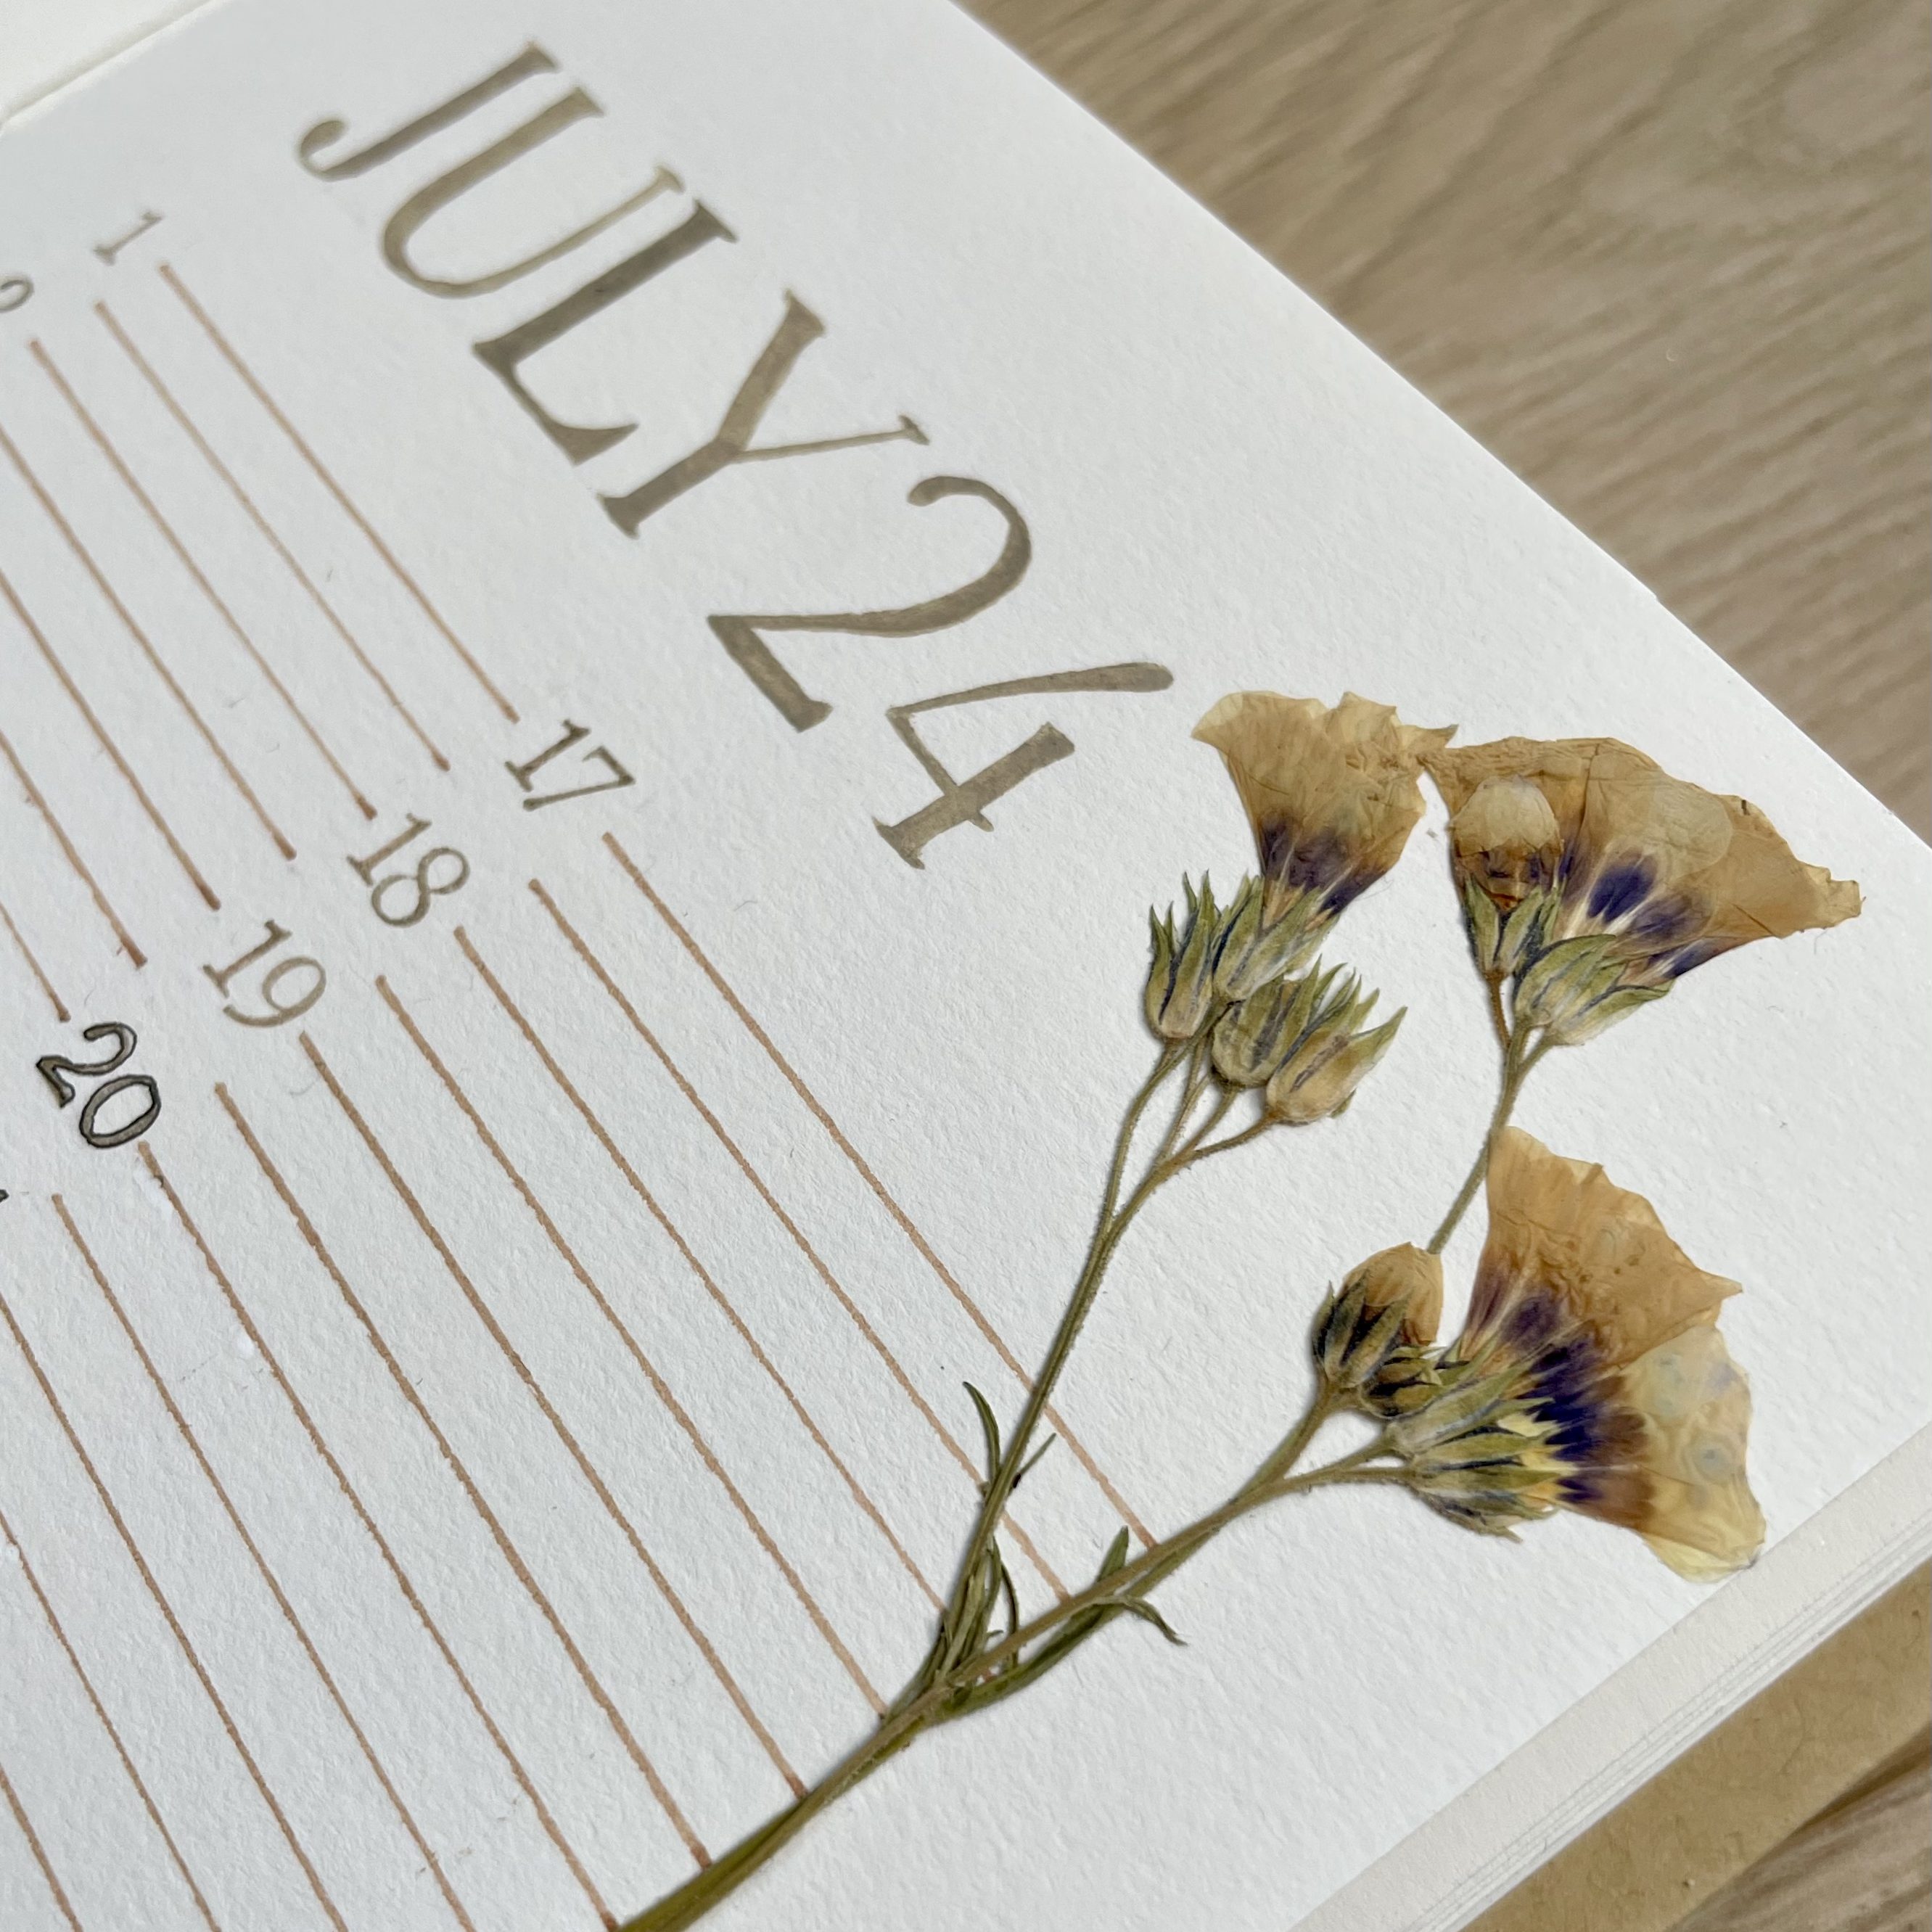
Another way to approach a floral journal theme is to choose a limited color palette or a single type of flower. I’ve done this by using only blue flowers picked from my yard to create a blue-and-green theme:
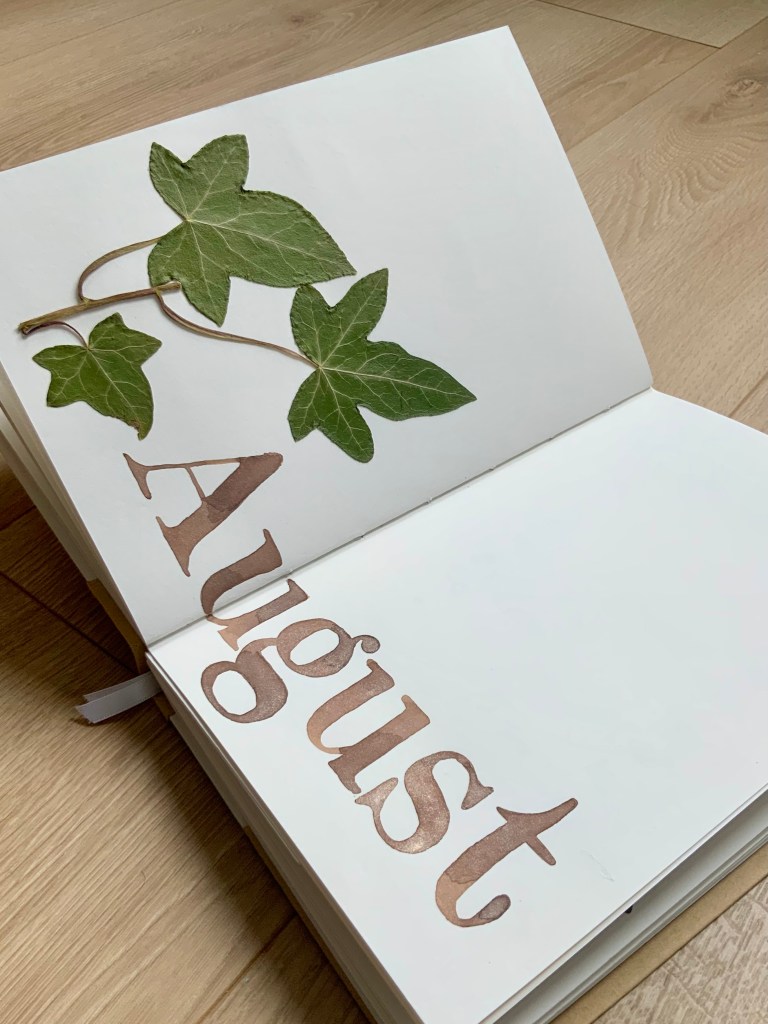
Don’t neglect pressed leaves!
Flowers may not always be in season, but pressed flowers can decorate your journal pages just as well:

Subtly celebrate a holiday with seasonal flowers
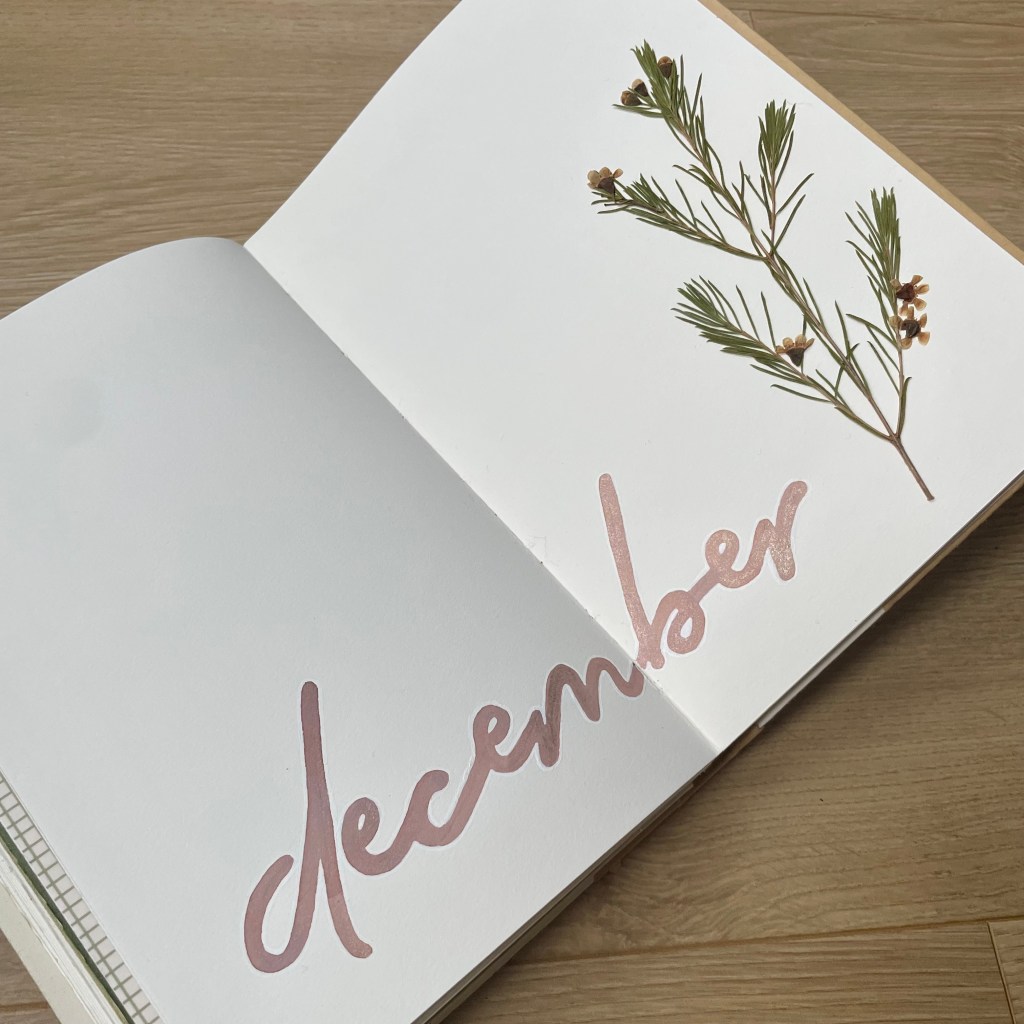
So many holidays and seasons have associated flowers, which makes it easy to create a seasonal theme in your journal. For example, I used pine branches to create a winter theme in December:

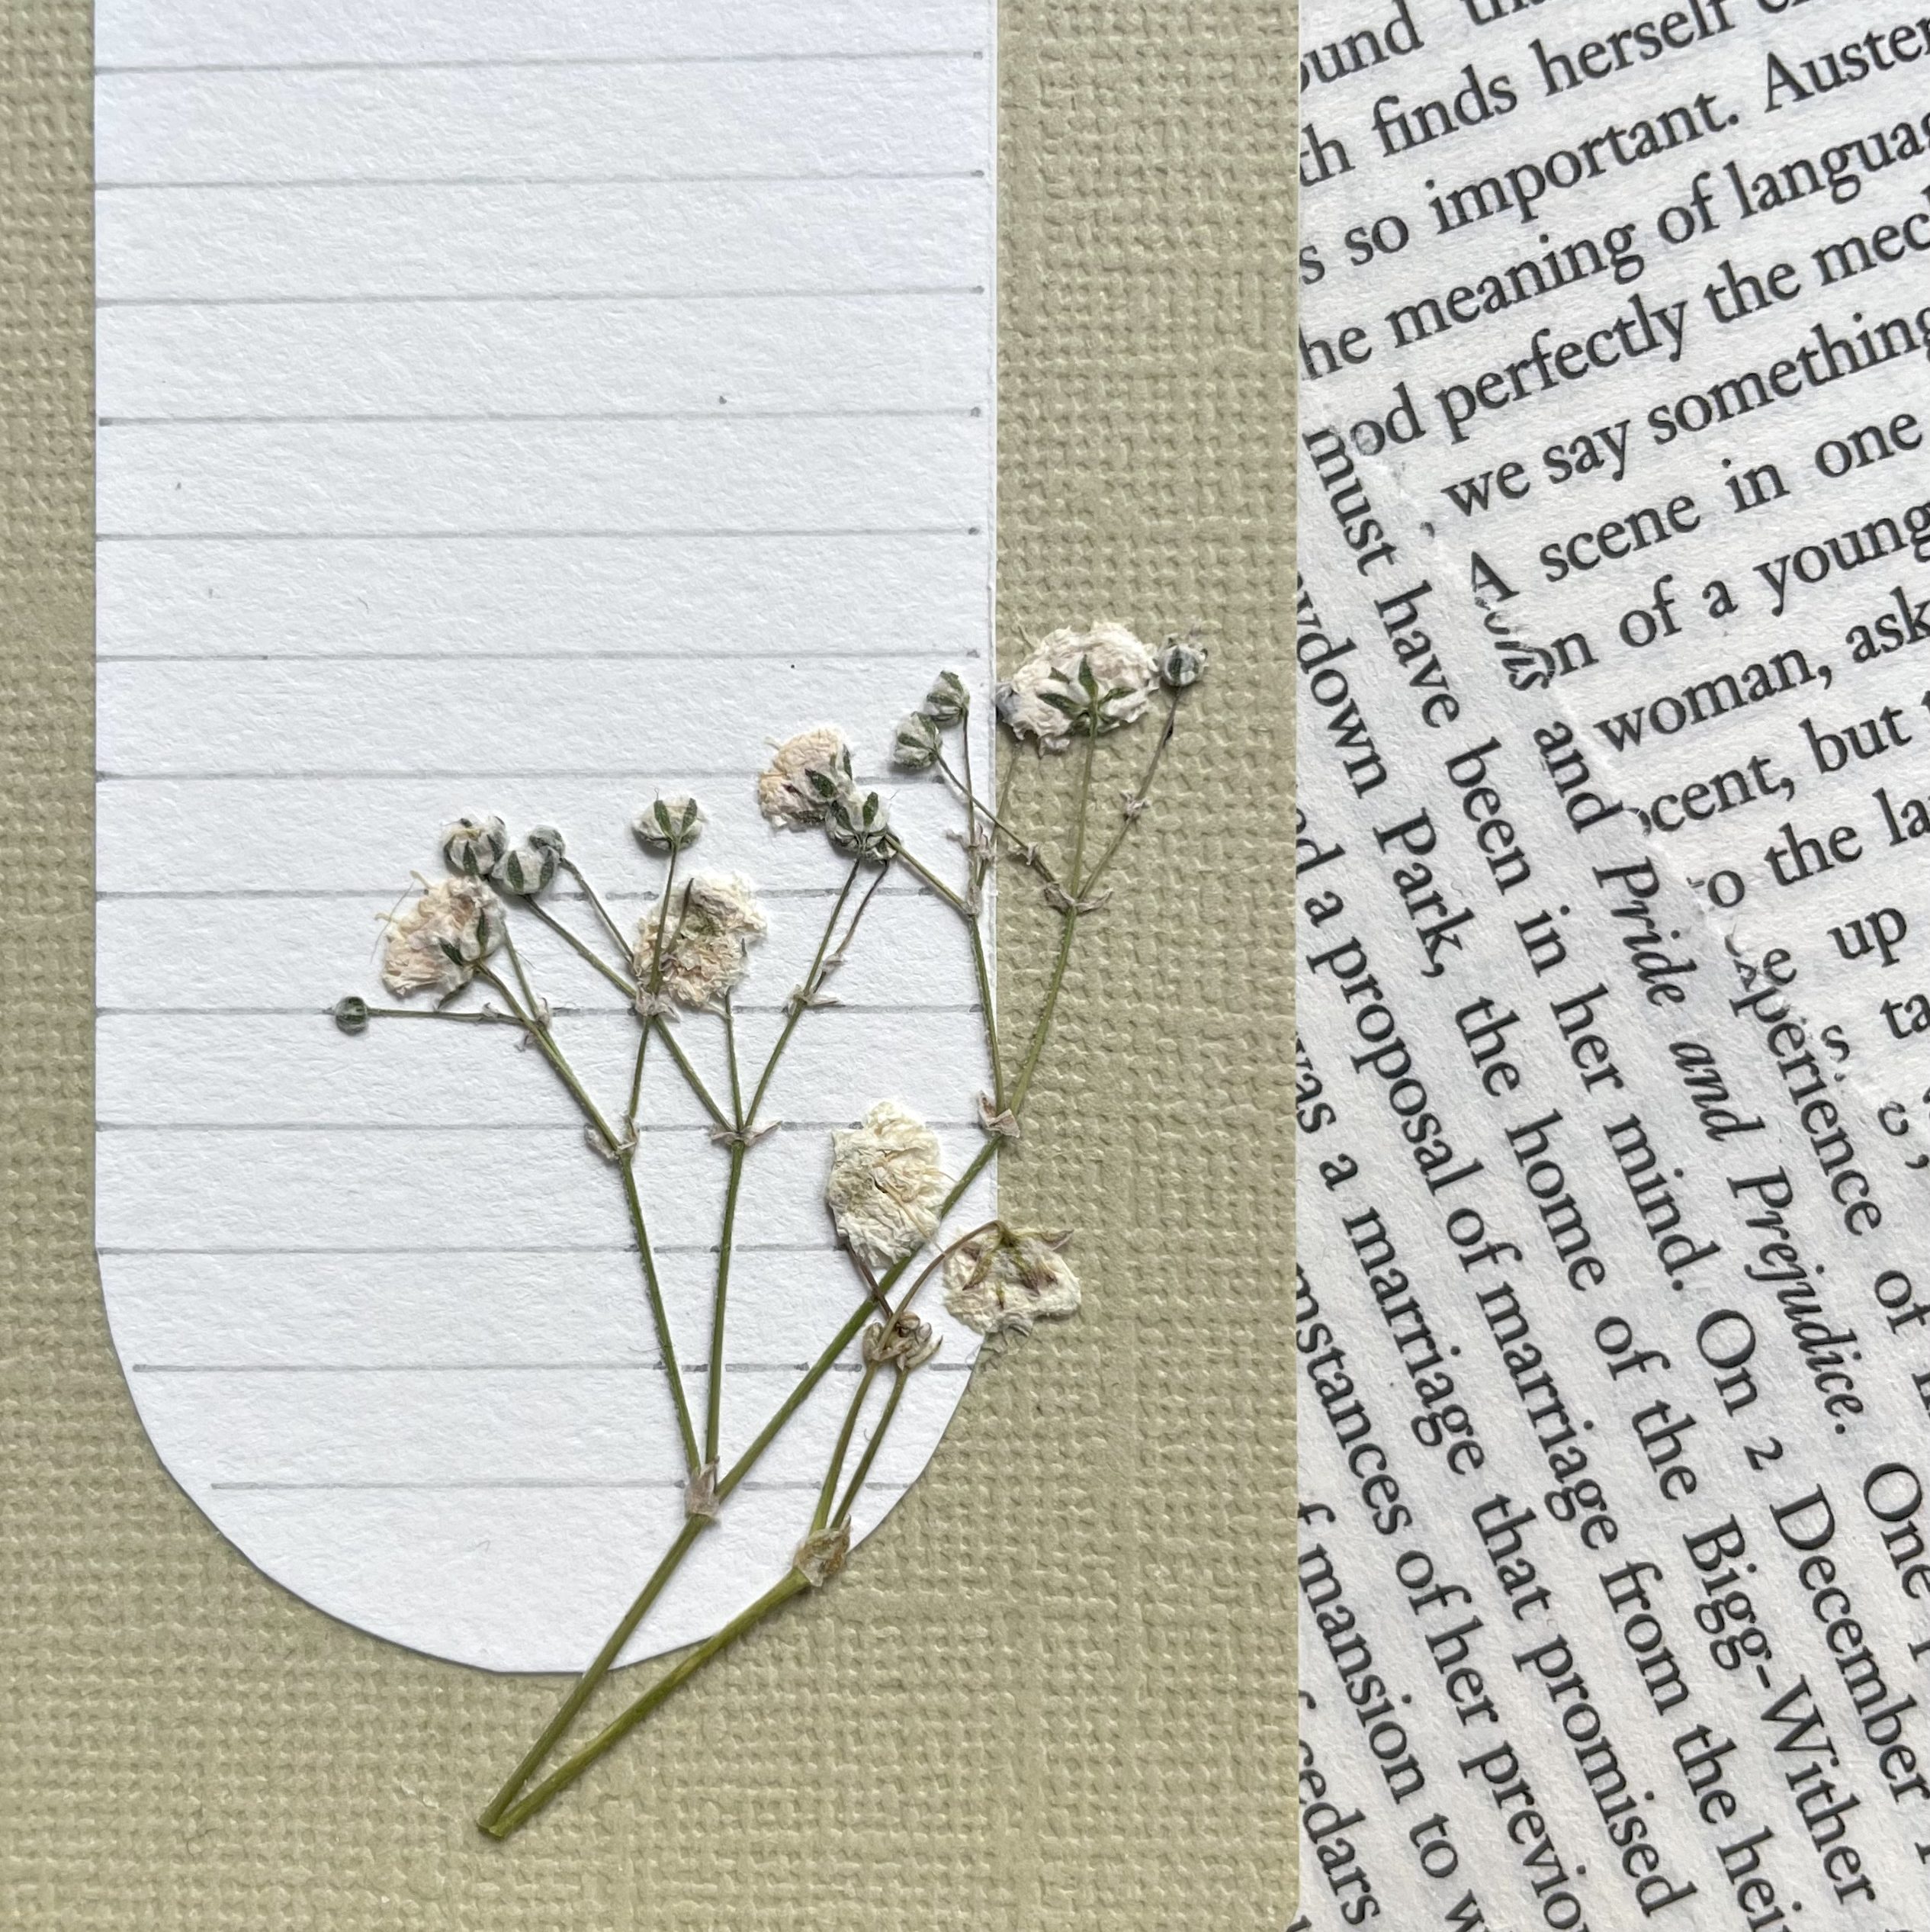
And in honor of Valentine’s day, I used pressed roses and rose buds to create a romantic theme in February. Check out my February theme blog post to see more ideas from this theme & how you could recreate it.
Where to incorporate pressed flowers in your layout
There’s infinite ways to add pressed flowers in your journal spreads. Below are some tried and tested ideas you can use for inspiration:
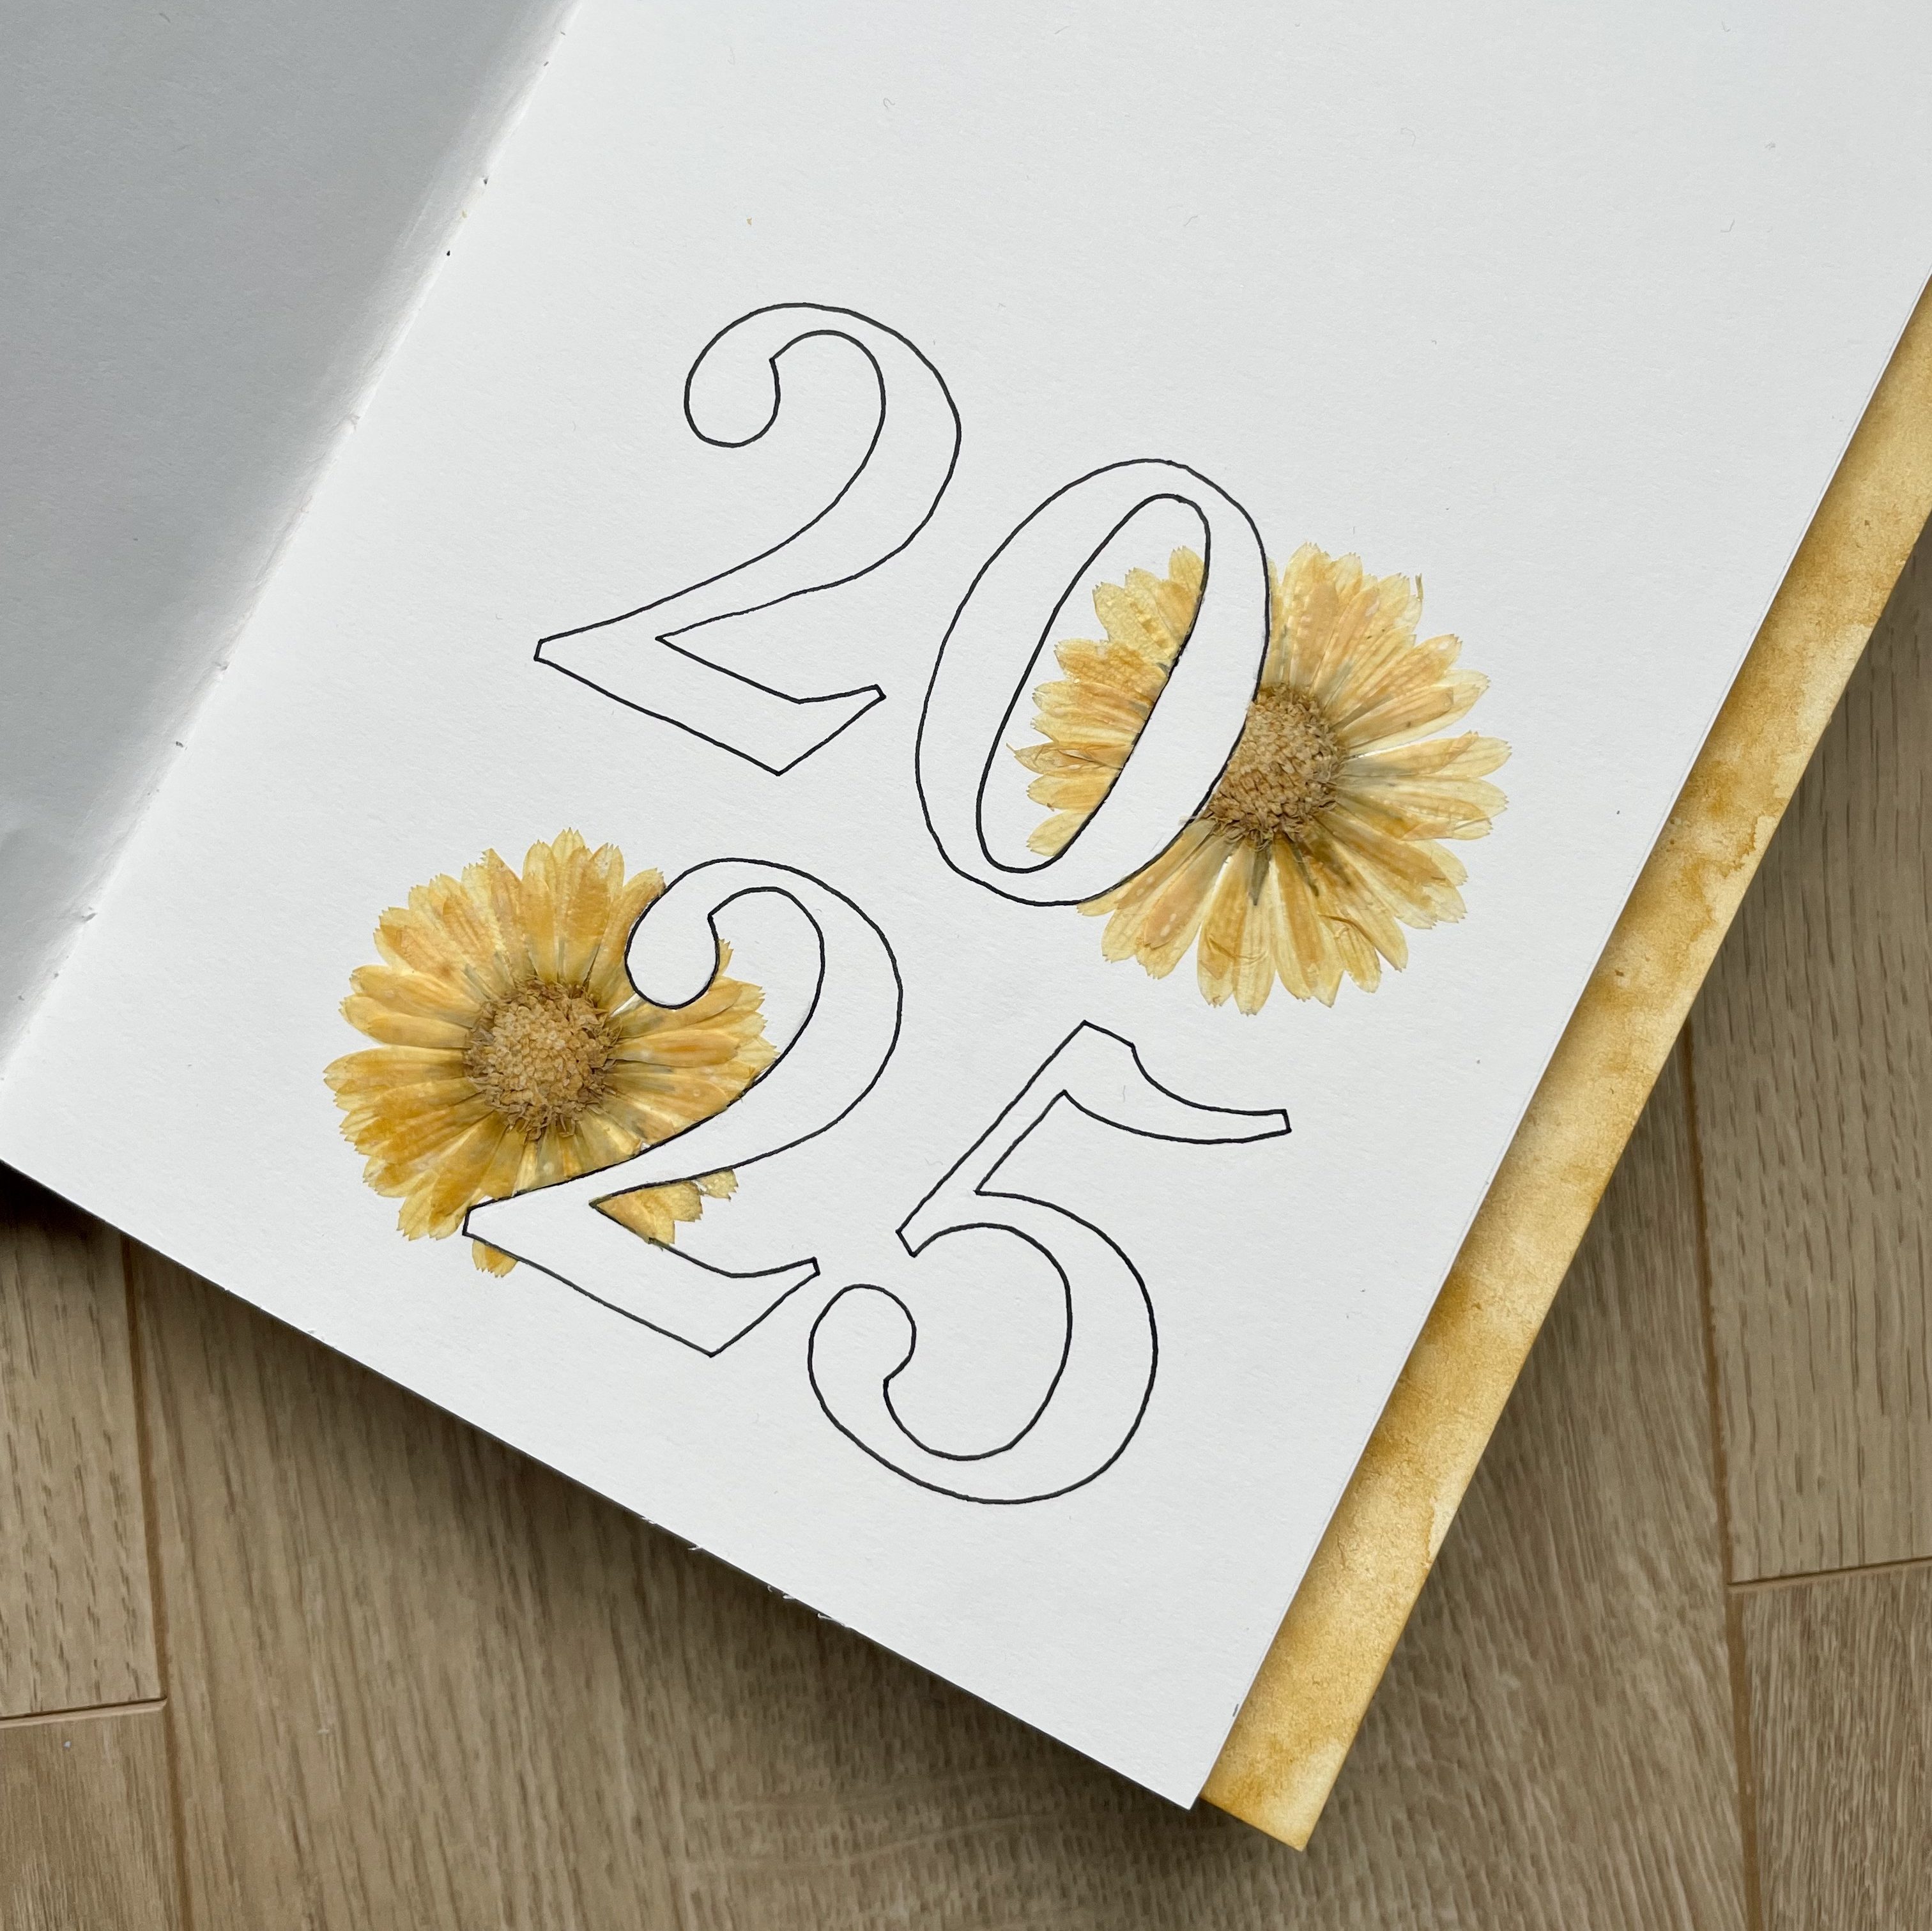
Replace Os and zeros in headers

This is probably the easiest way to incorporate pressed flowers in your layout, and I use it a LOT, whether it be with real pressed flowers or with realistic pressed flower stickers.
Minimalist headers with flower cutouts
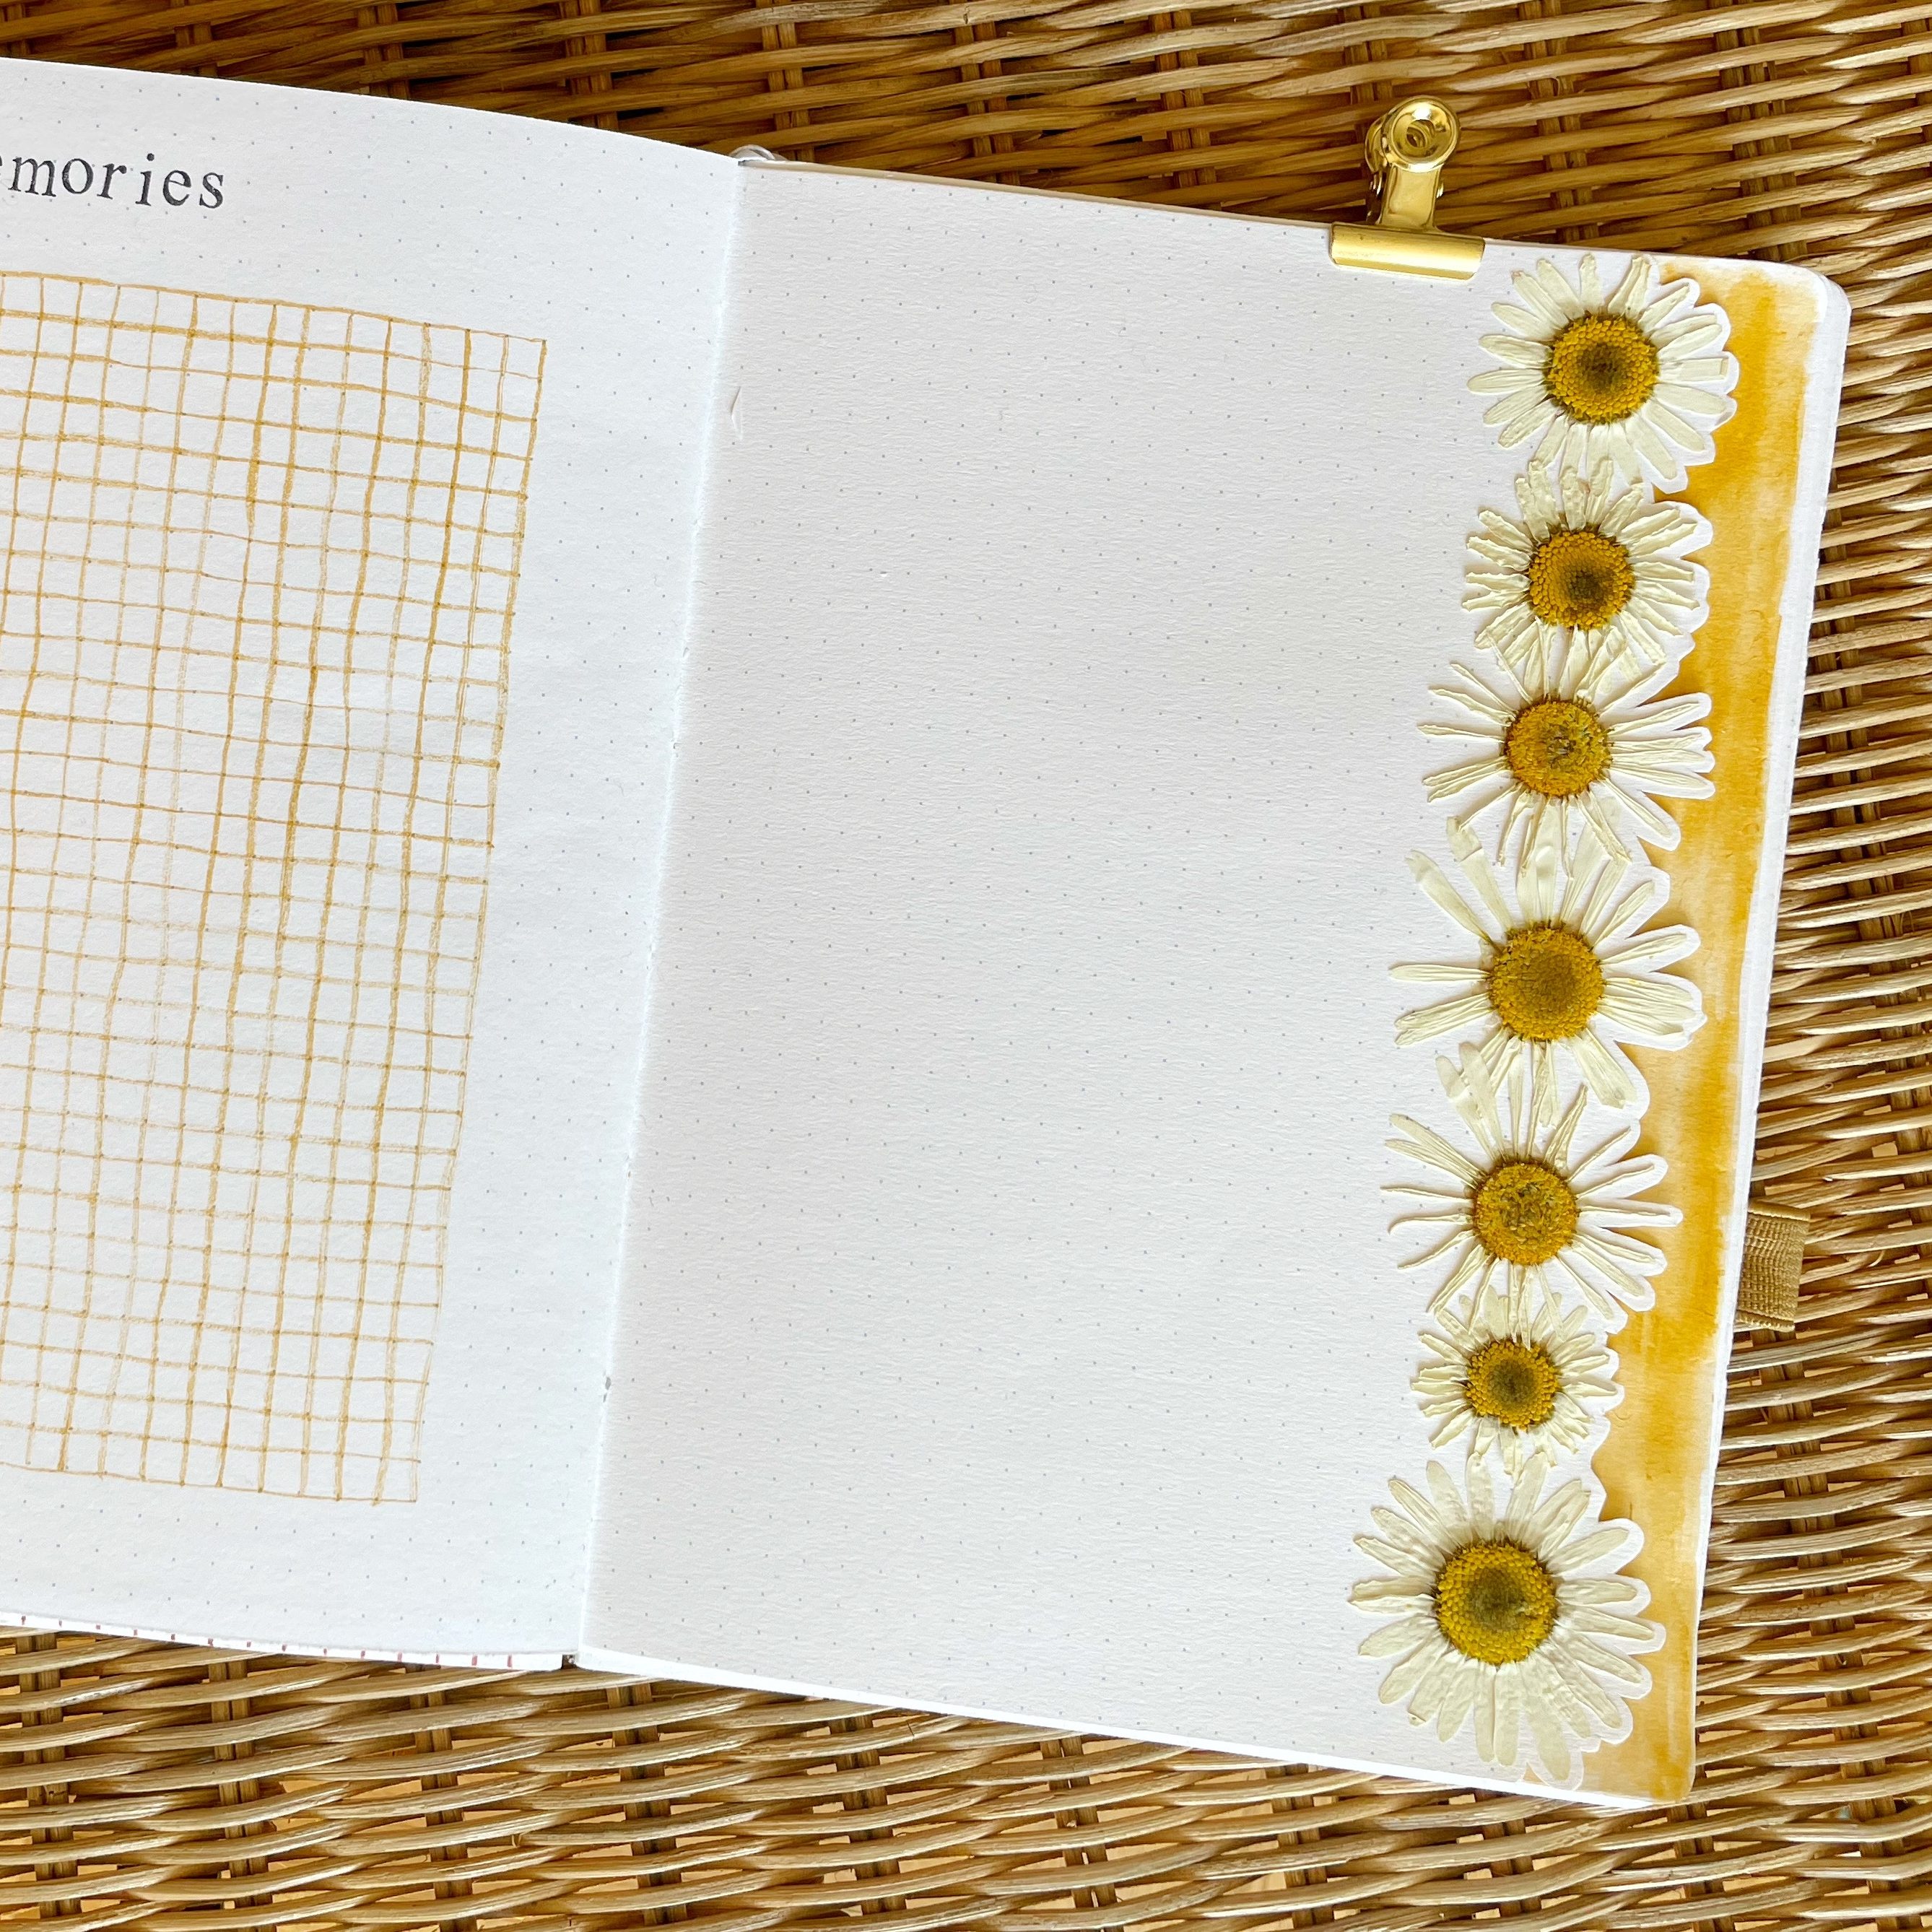
Floral banner
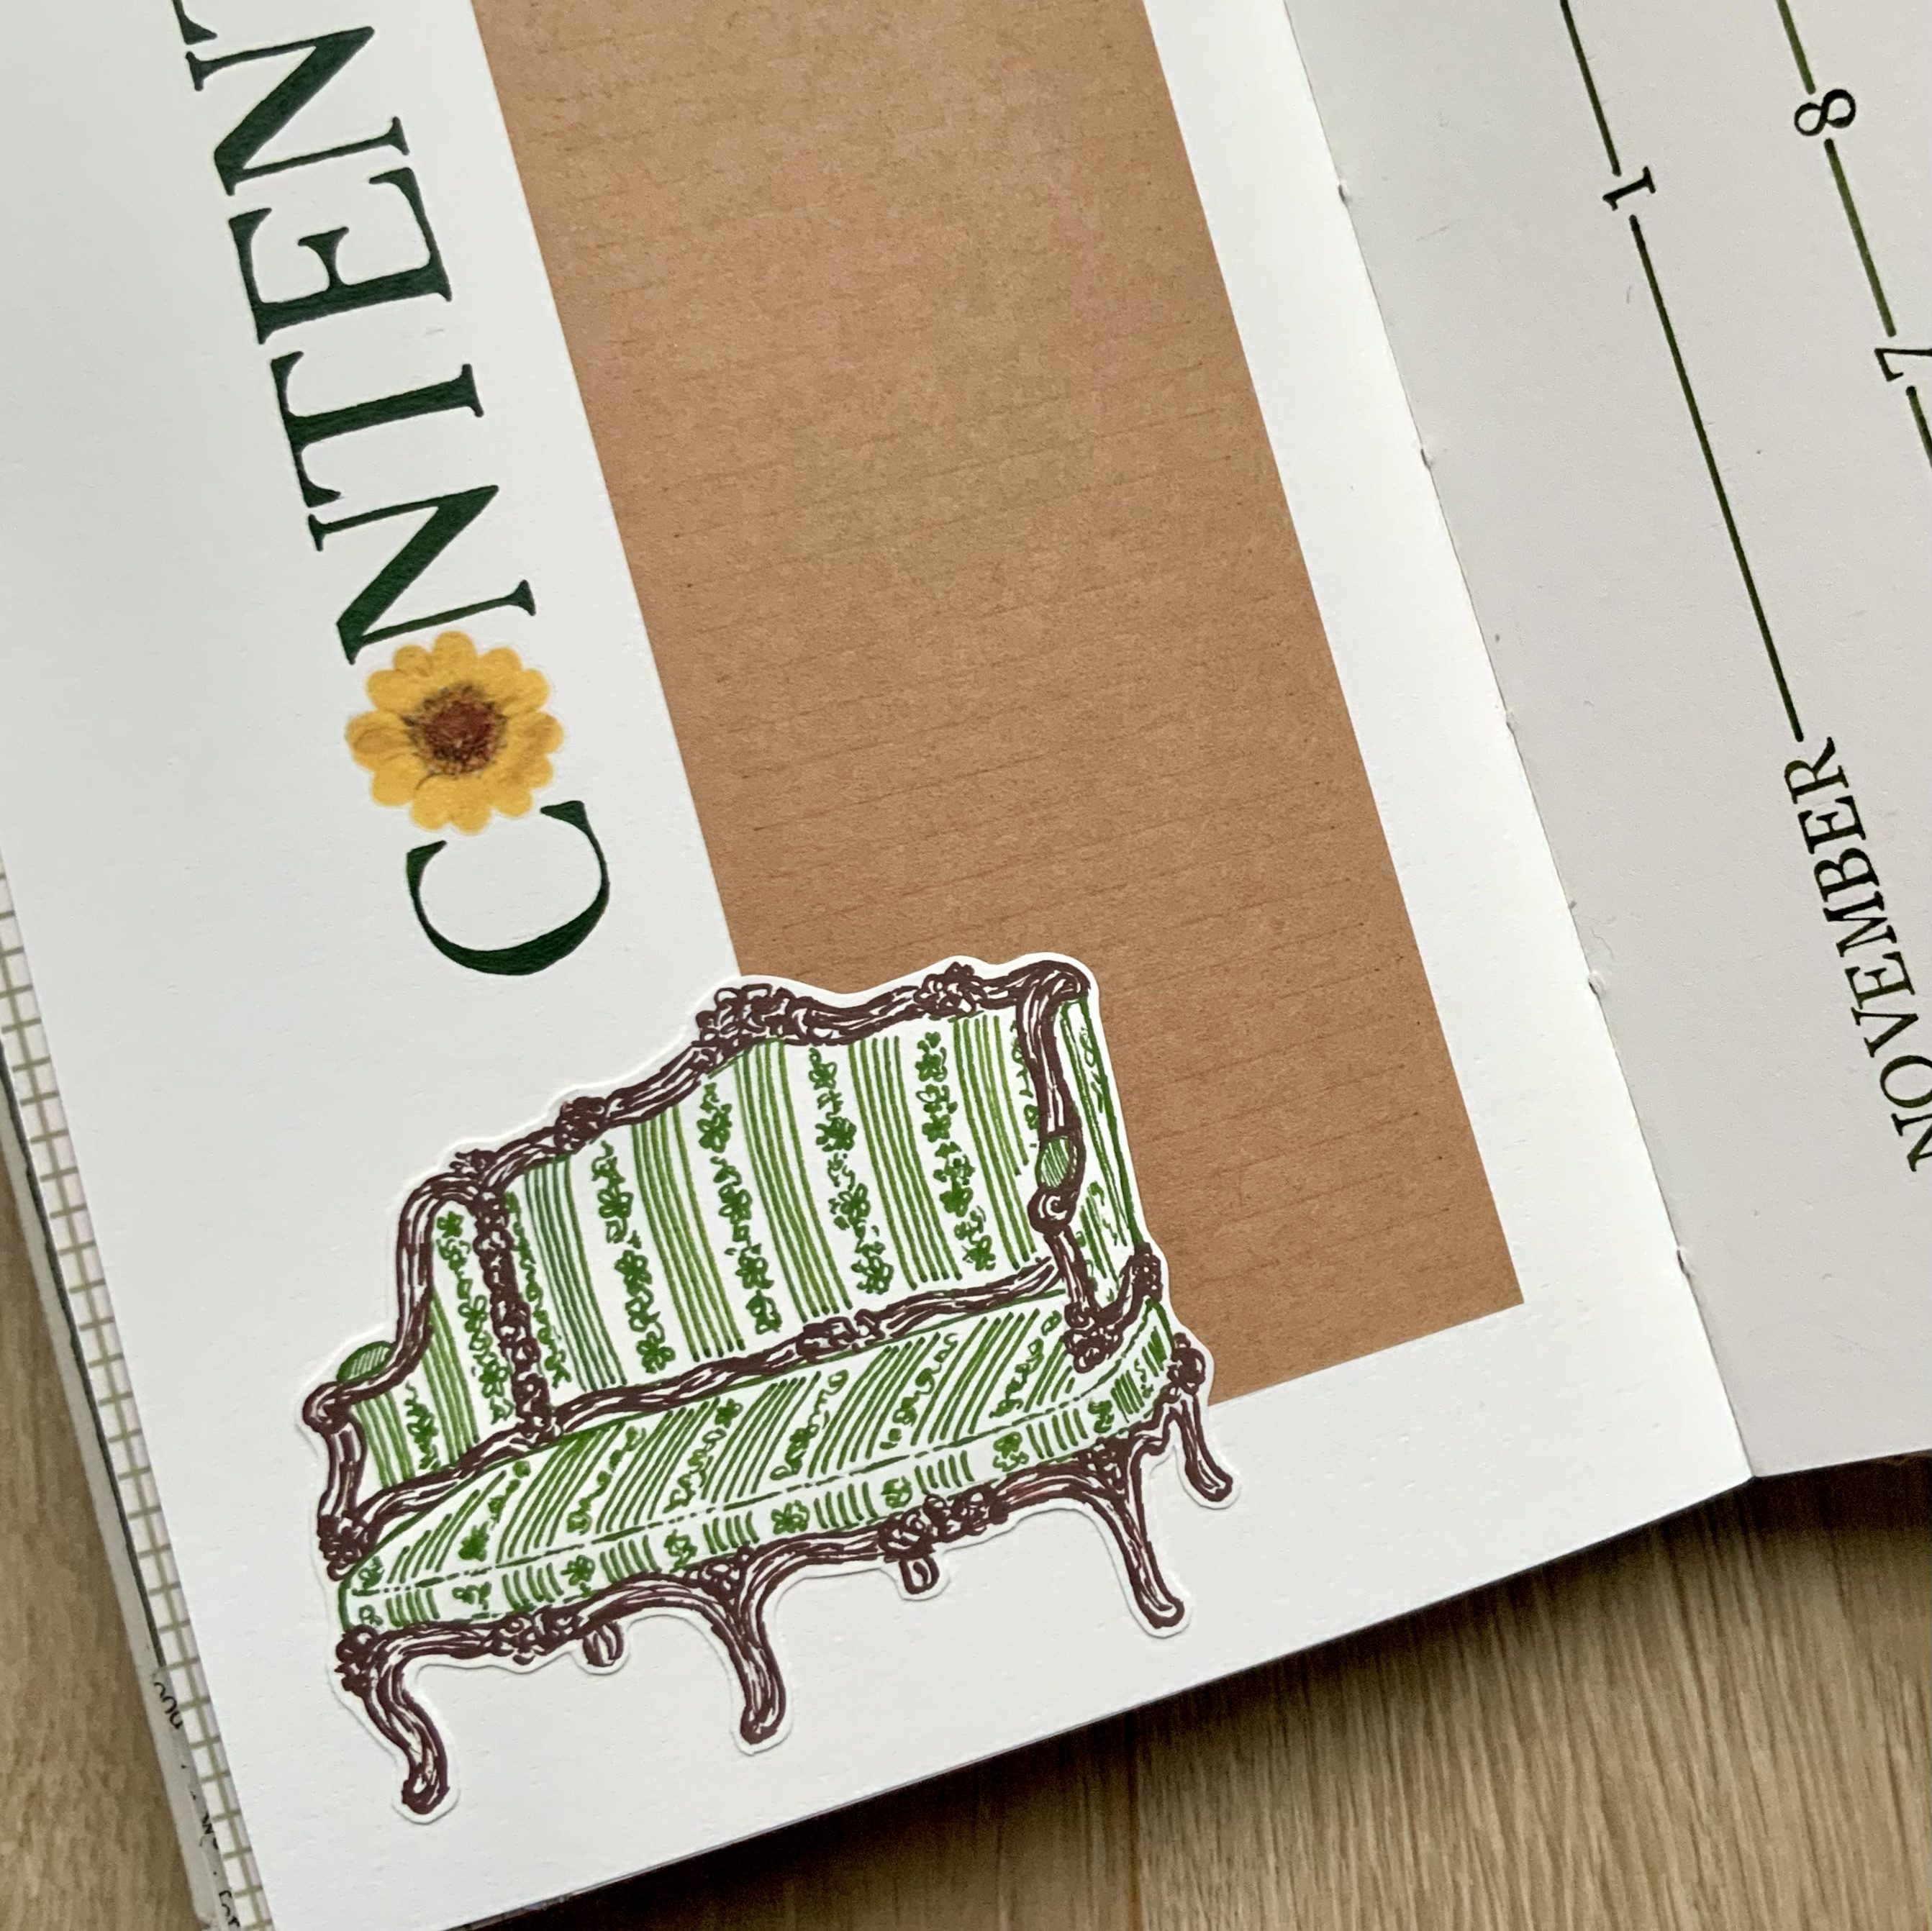
Floral collage
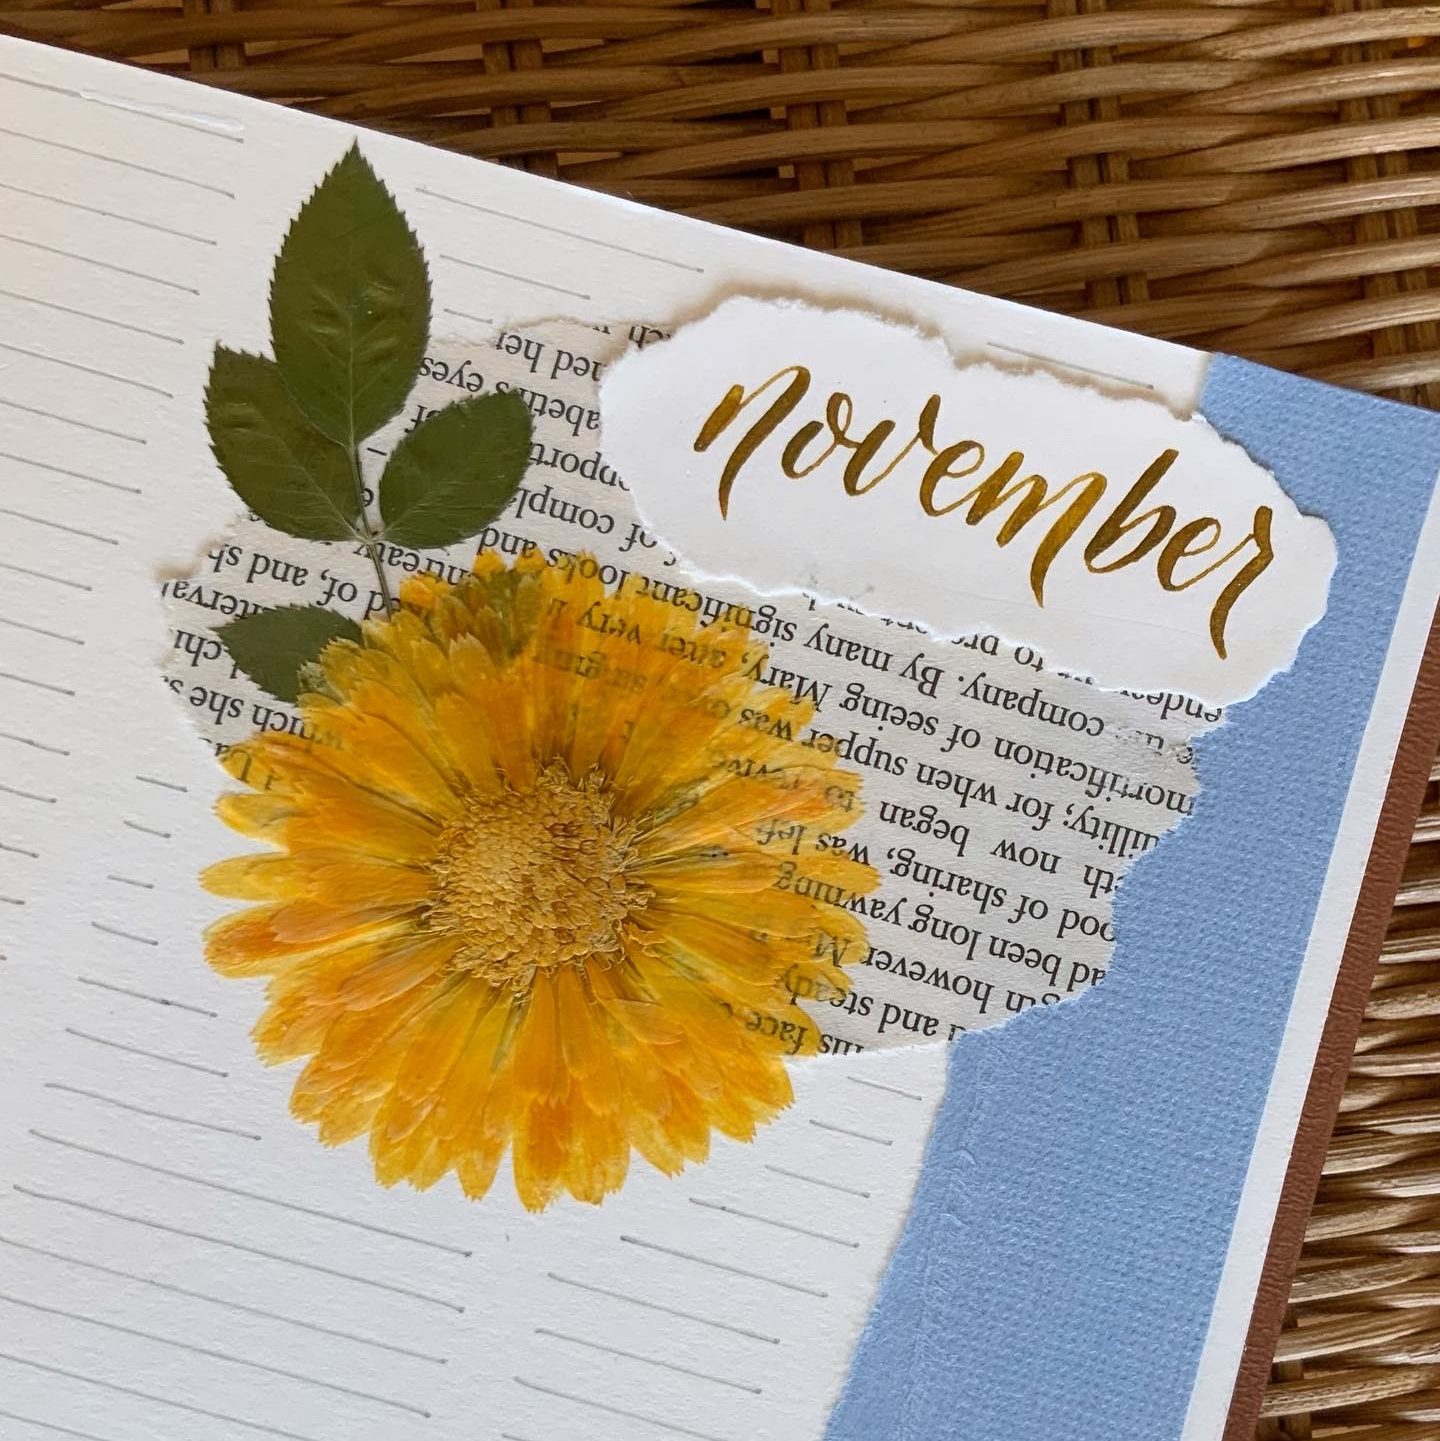
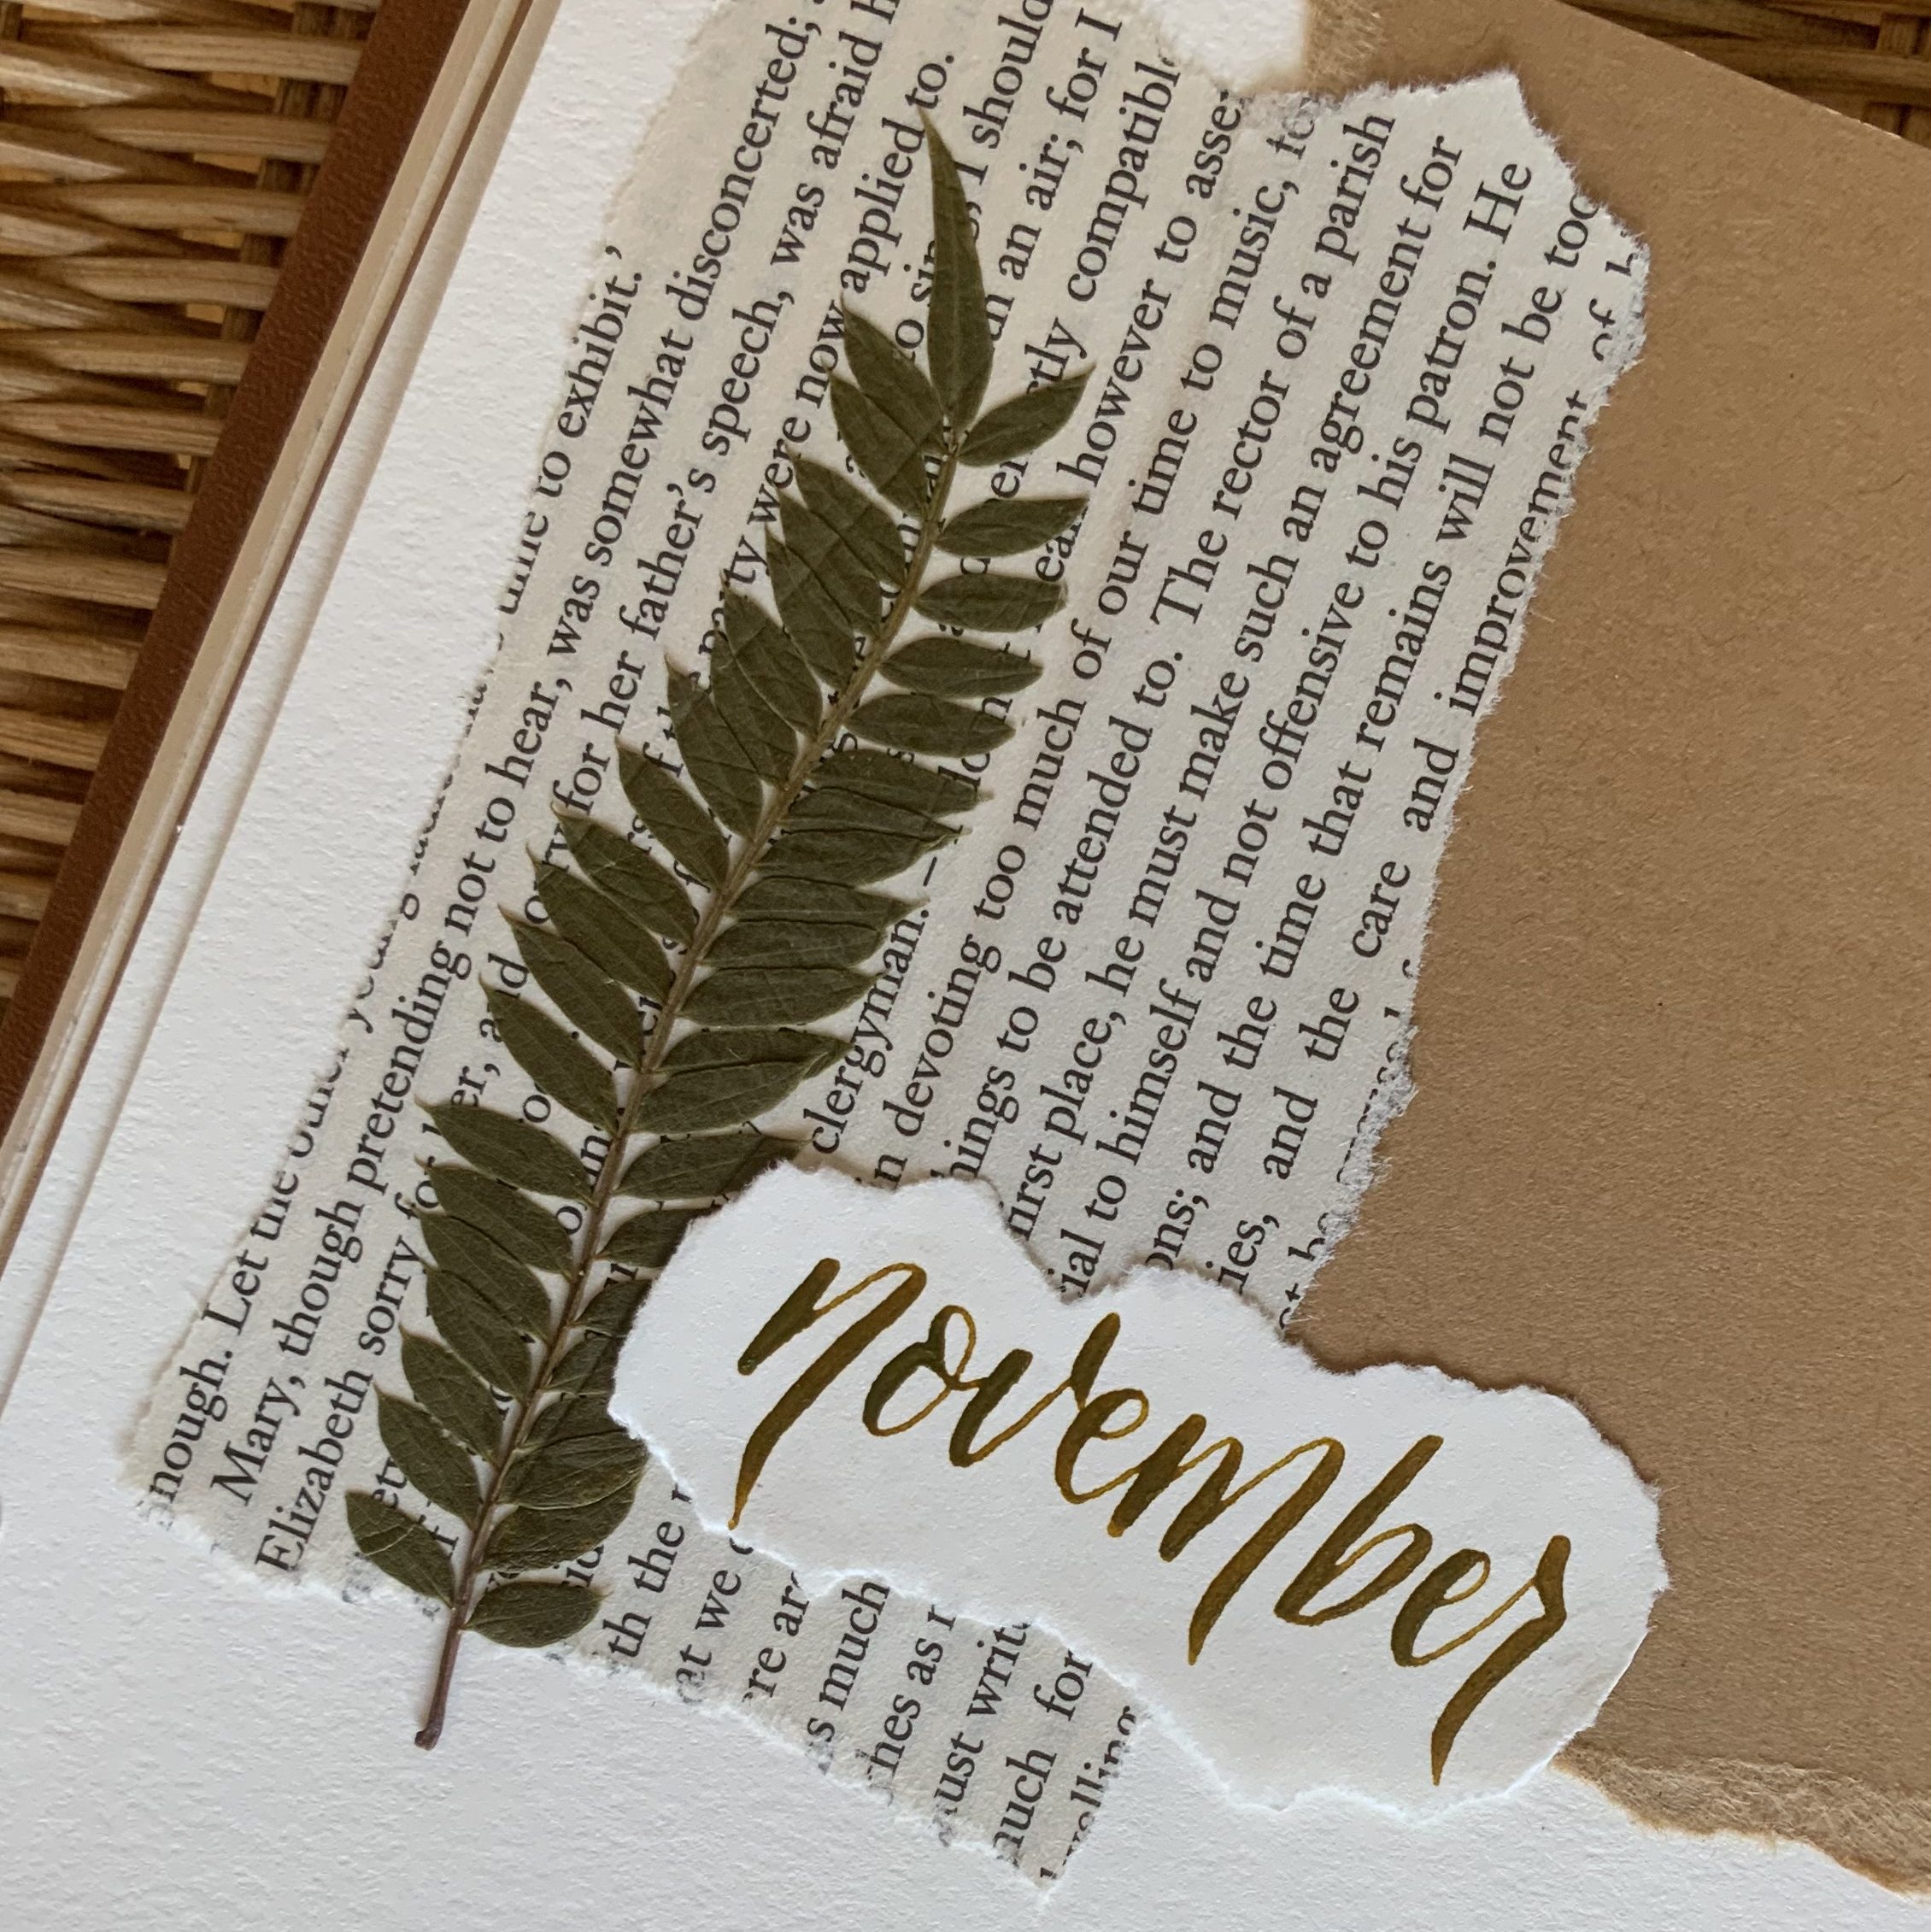
Combine pressed flowers with ripped book pages, textured paper, paint, or stickers to create a collage. This is one of my favorite ways to incorporate pressed flowers in my journal. Above are some examples from one of my floral collage themes back in November 2023. I also used floral collages more recently in my February 2025 journal theme and for a 4-year journal setup.
Floral brackets

Full-page composition

Incorporate pressed flowers in an illustration


This one is probably the most involved way to add pressed flowers in your journal, but it’s also the most unique, which makes it extra rewarding.
Tips for using pressed flowers in your journal
- Choose flowers that mean something to you: a bouquet someone gave you, flowers from your garden or balcony, flowers you collected on a walk or trip, etc. This makes your journal theme even more special and personal.
- Make sure your flowers are DRY to avoid molding, color changes, or the color bleeding onto the adjacent page when you close your journal. If that means drying them a couple more weeks than you think is necessary, do it!
- Use glue sparingly. Make sure you apply a very thin coat or small dots of glue with a small brush and focus on the essential or thicker parts of the flower only. You don’t want the flower falling apart with time, but you also don’t want to get your flowers wet again or for your pages to become messy or stick together.
- Use tweezers to handle the flowers so they doesn’t rip by sticking to your fingers.
- Favor flat flowers. Dried flowers or pressed flowers with parts that bulge out will warp your page and make it difficult to write on the next page.
- Keep the rest of your journal spreads minimal so the flowers stand out. This one is just personal taste, but I like to have pressed flowers be the centerpiece of my spreads, avoiding a cluttered layout. The key is to highlight the beauty of the flowers while keeping your spreads functional and aesthetic.
- Even “ugly”, faded, or “common” flowers can make beautiful decorative elements in your journal. In fact, it’s the perfect way to give them a second life!
If you’re looking for more inspiration for bullet journal layouts with real pressed flowers, you can also check out my monthly themes for more inspiration! And be sure to check out my shop for supplies and all things journaling & pressed flowers!
Happy journaling!
